Easy Rifle Wrap Guide
Ghillie Rifle Wraps
Ghillie Rifle Wraps are an easy and effective way to conceal your rifle, so that it doesn’t stand out compared to the rest of you. I mean….why spend tons of time and money on a suit…..then have an uncrafted/painted rifle sticking out like sore thumb right?
There are many different types of Rifle Wraps, veils, sleeves etc, all with various materials and Suitability. A few companies out there make pre-made Rifle Wraps like Novritsch, other make truly hand made bespoke products like Sprinter Custom Ghillie.
I personally enjoy crafting, so more often than not, i’ll end up crafting my own stuff, including Rifle Wraps…..So, below I’ve chucked together a nice and simple guide to making one!

Materials need for the Rifle Wrap
Let me start of by saying there is no right or wrong materials when it comes to crafting, my view is crafting is equally down to application as it is the materials, by that I mean, chucking a ton of high quality materials like Halo-Screen onto something, doesn’t make it effective. using cheap cotton and raffia can be much more effective if done right.
With that said, let me get onto the materials I’ll be using for this guide.
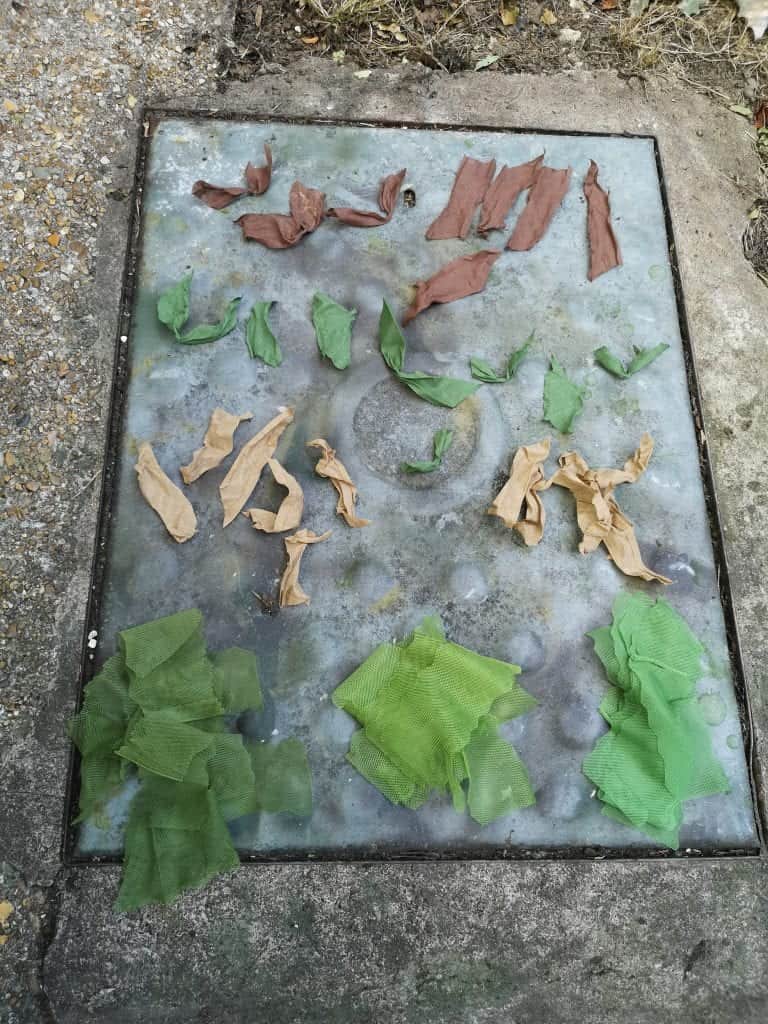
1 – A form of base mesh, I used some Kicking Mustang KMCS mesh (brown) from Empire Airsoft.
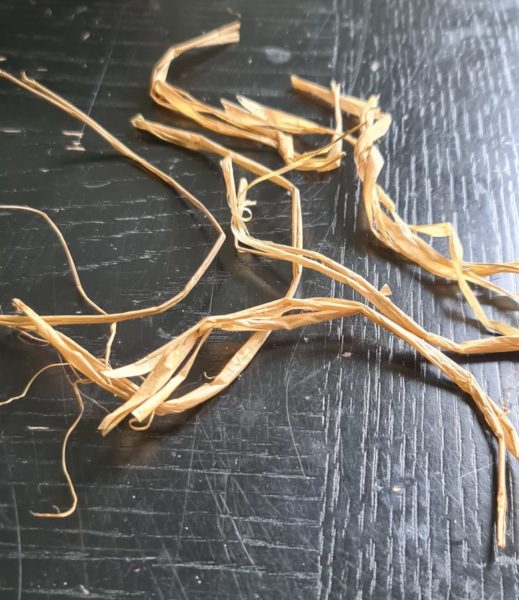
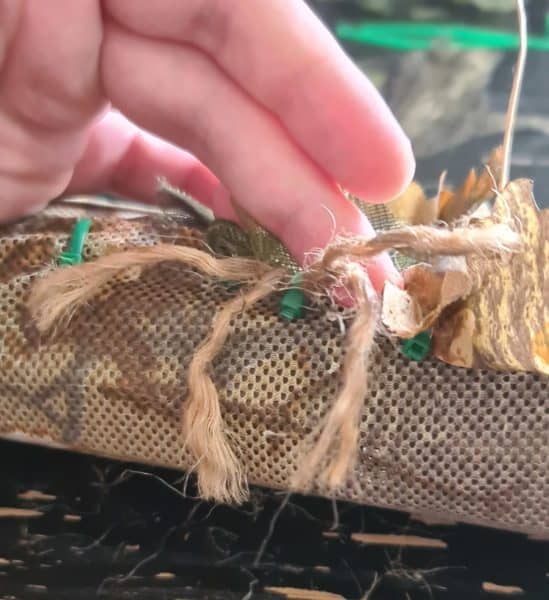
2 – Raffia, you can buy this stuff anywhere, it’s incredibly cheap and you get a lot of it for your money. You can dye it, paint it, bunch it up, split it, the stuff’s great and really helps break up the shape of whatever you’re adding it to.
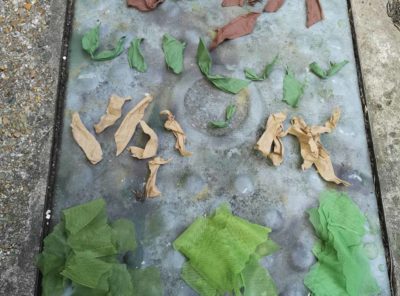
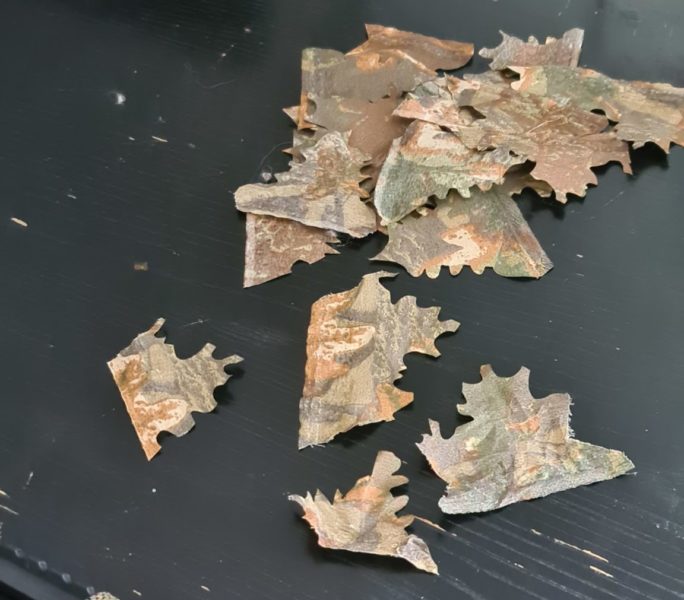
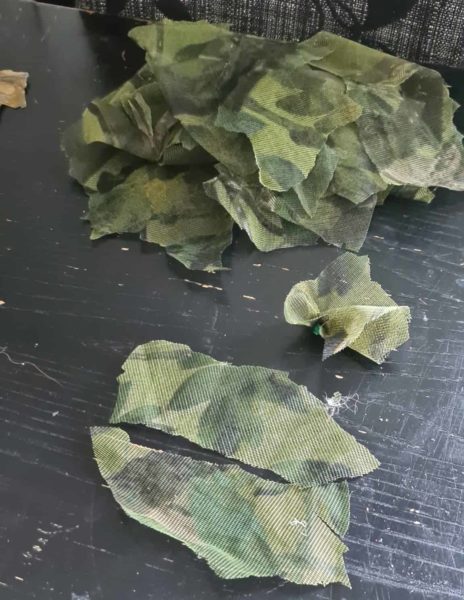
3 – Filler, by filler I mean the main bulk of what it is you plan to attach, things such as LLCS, leaves, ripped fabic, cotton, hessian etc the list goes on. In this guide, I’m using some KMCS Leaves and Jack Pyke Green Hide Mesh. The KMCS leaves are the same pattern as the base mesh, which gives a nice illusion of depth and the Green Jack Pyke mesh gives a nice contrast.
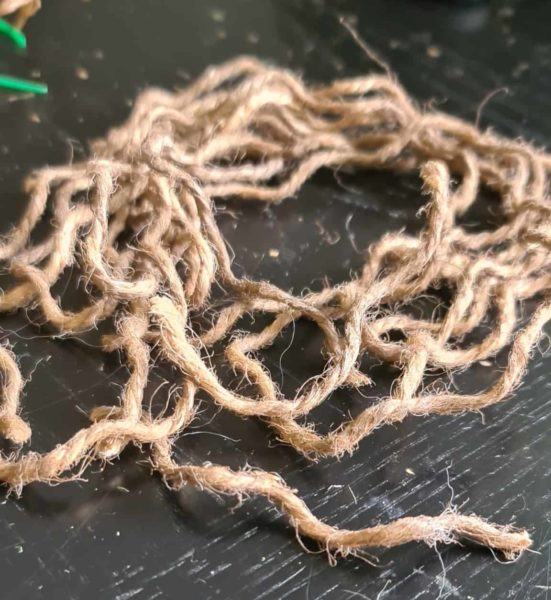
4 – Coconut Rope/Twine, like raffia this stuff is cheap and helps break up and bulk the rifle wrap out. I’m using some coconut rope I’ve had knocking around for ages that I spray painted to stiffen it up and give it more earthy tones.
5 – Cable Ties, pretty basic this one….Some small green or brown cable tiers which you can get online. I personally use small 2/3mm ones, as they can be pushed through mesh easily and are still strong. For this guide I’ve chosen green so it stands out in pictures so you can see how I’ve anchored things to the mesh…….Not because I couldn’t find any brown cable ties hehe.

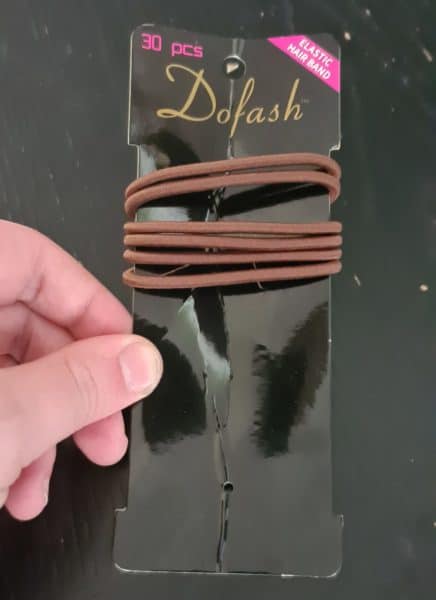
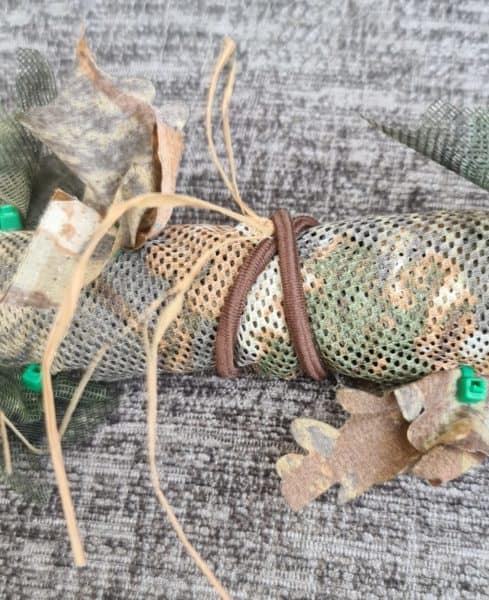
6 – Brown hair bands, I like adding these to wraps and to my suits, because once again, they are very cheap and are an easy way to attach real foliage on site.
The process
Now we’ll get into the actual process of how we get all this lovely goodness together!
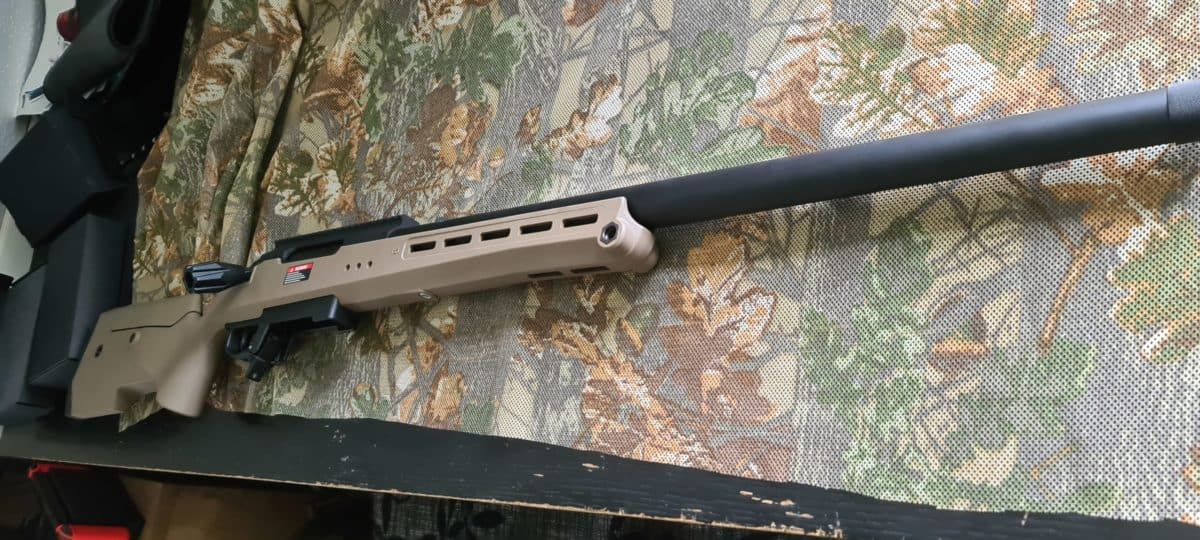
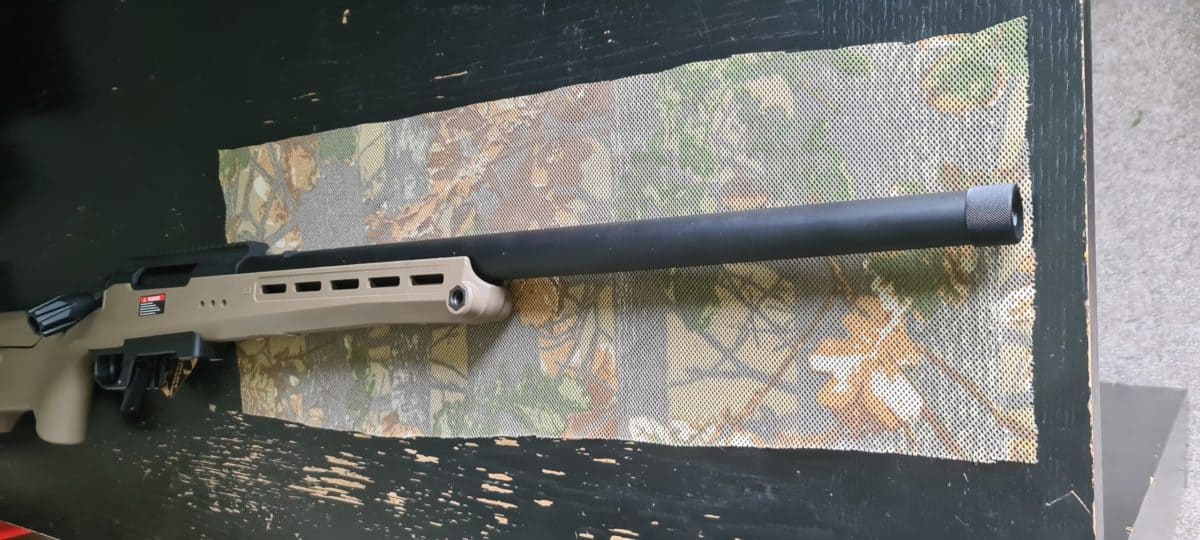
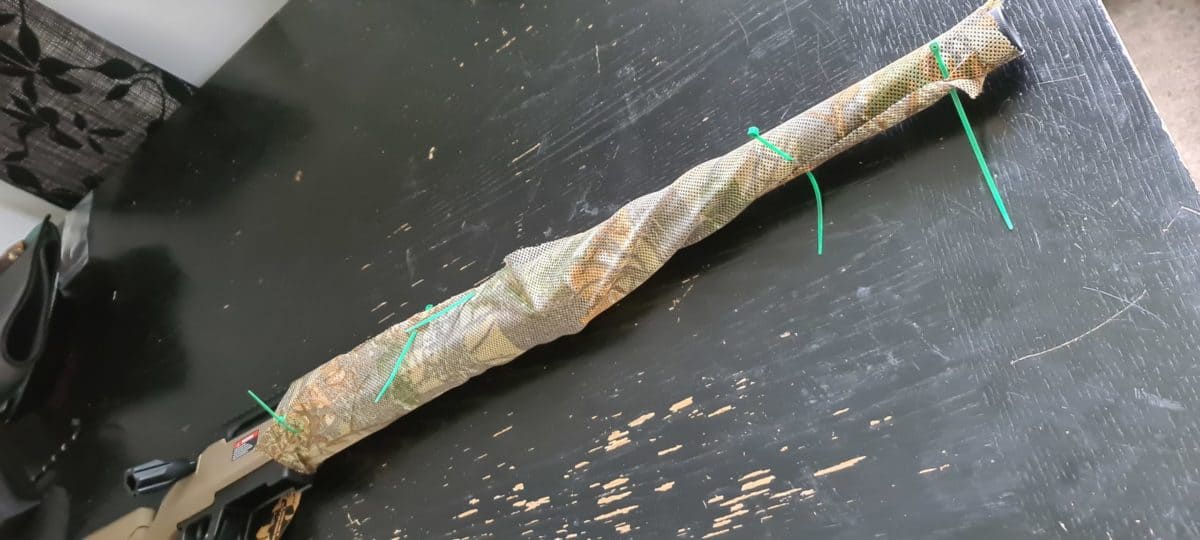
Step 1 – Lay the base mesh out on a table or flat service and fold it over your rifle, then pull it together so you can see the overall amount of material you’re going to need, then cut it (to much is better than not enough). FYI you can use this exact same process for a scope wrap to.
Step 2 – Fold the mesh around the rifle and loosely add some cable ties (or elastic bands) just to hold the wrap in the general shape for you to work with.
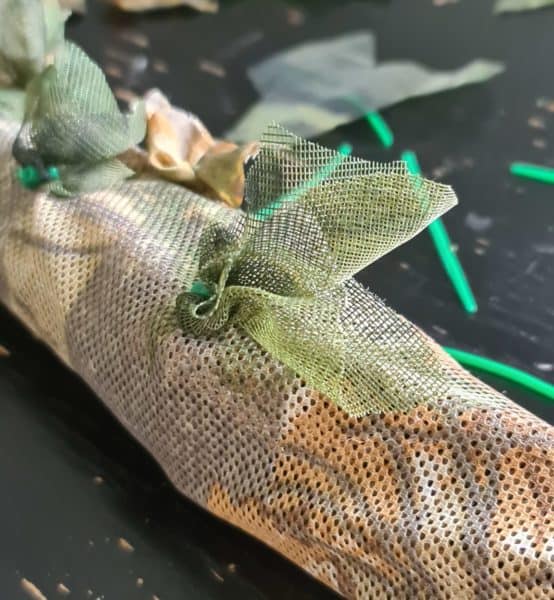
Step 3 – Cut your materials (KMCS Leaves/Jack Pyke Mesh in my case) into random shapes, ideally you want them to almost look like bunched up leaves/buds once you pull a cable ties through.
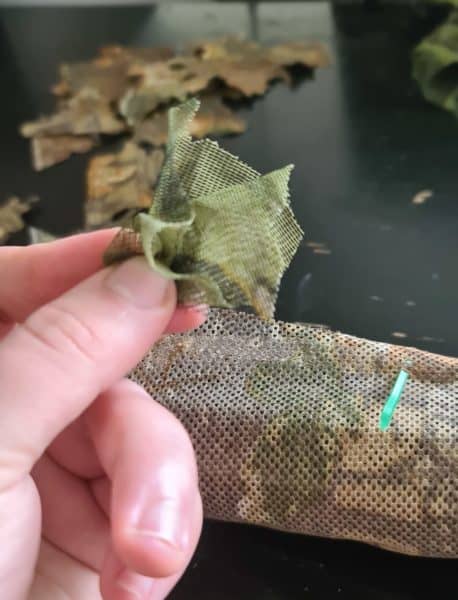
Step 4 – Begin adding one material first, spread it out and place it randomly all over the wrap at varying angles, then add the second. A method I like to do, is try to match up the material I’m adding, with the colours on the base mesh, so for this KM mesh, the KM Leaves fit in anywhere, but the Jack Pyke mesh pops nicely when you add it to the green sections of the mesh.
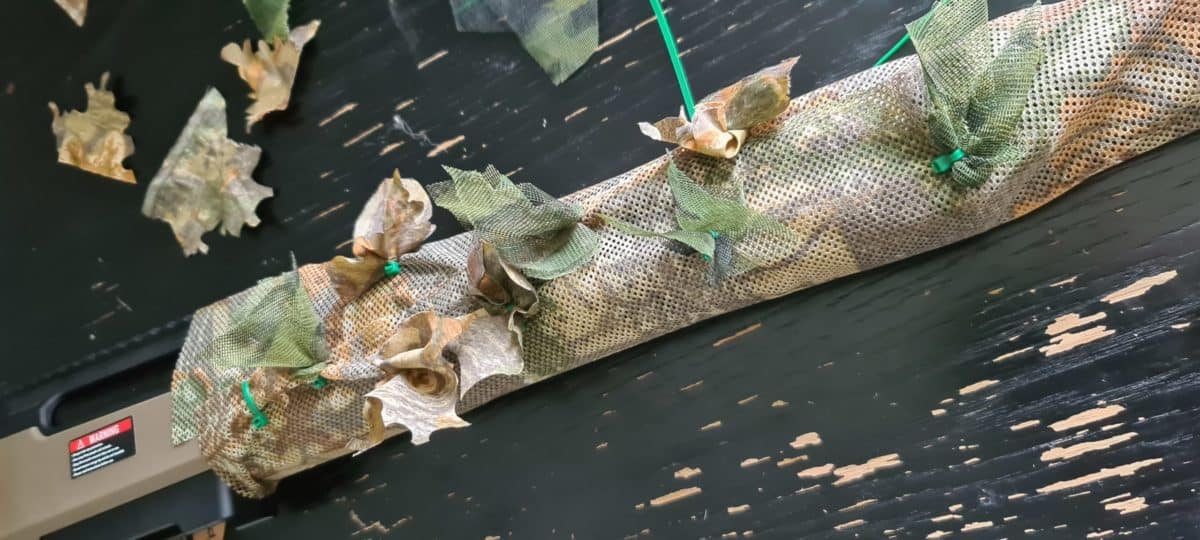
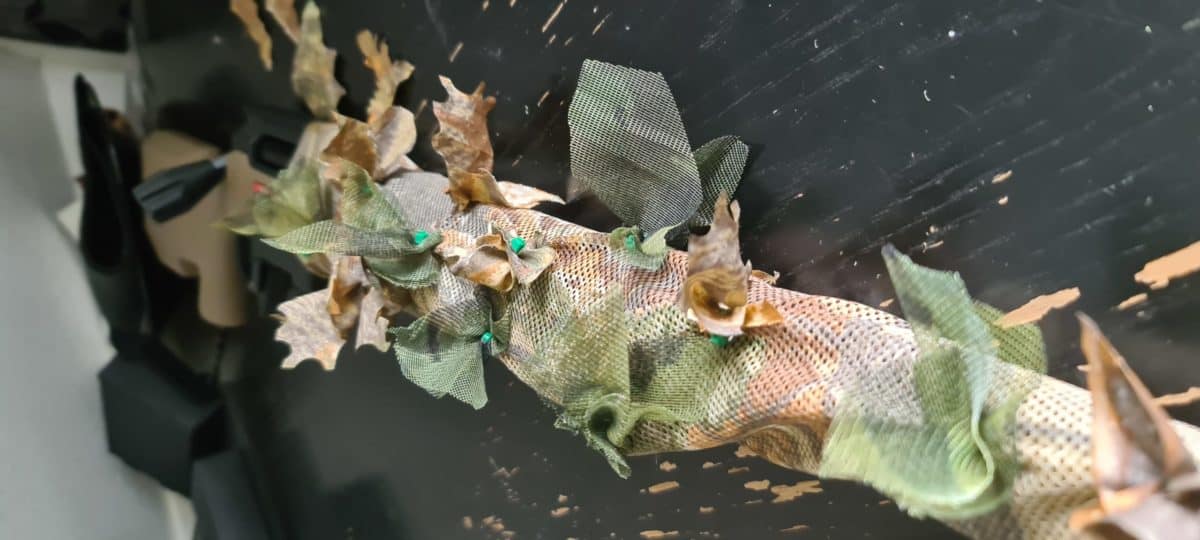
Step 5 – Once you’ve got a bit of bulk added, you’re then going to want to add some Rafia and coconut rope to break up the shape. There’s no wrong way to do this really, you just want to add a few bits, take a step back, see how it looks, add more if needed. The purpose here is to add depth and break up the shape, with the random lengths or shapes that the raffia and coconut rope add.

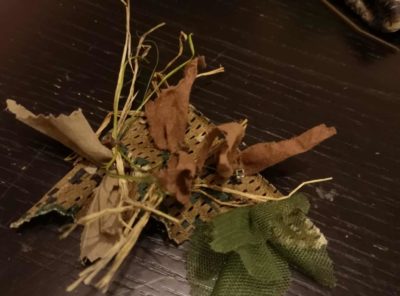
Step 6 – Add hair bands, this is as simply as stretching them over the barrel/receiver, depending on which hair bands you have you may be able to double them up. Alternatively, you can also twits the hairband into a figure of “8” and cable tie it to your rifle wrap.
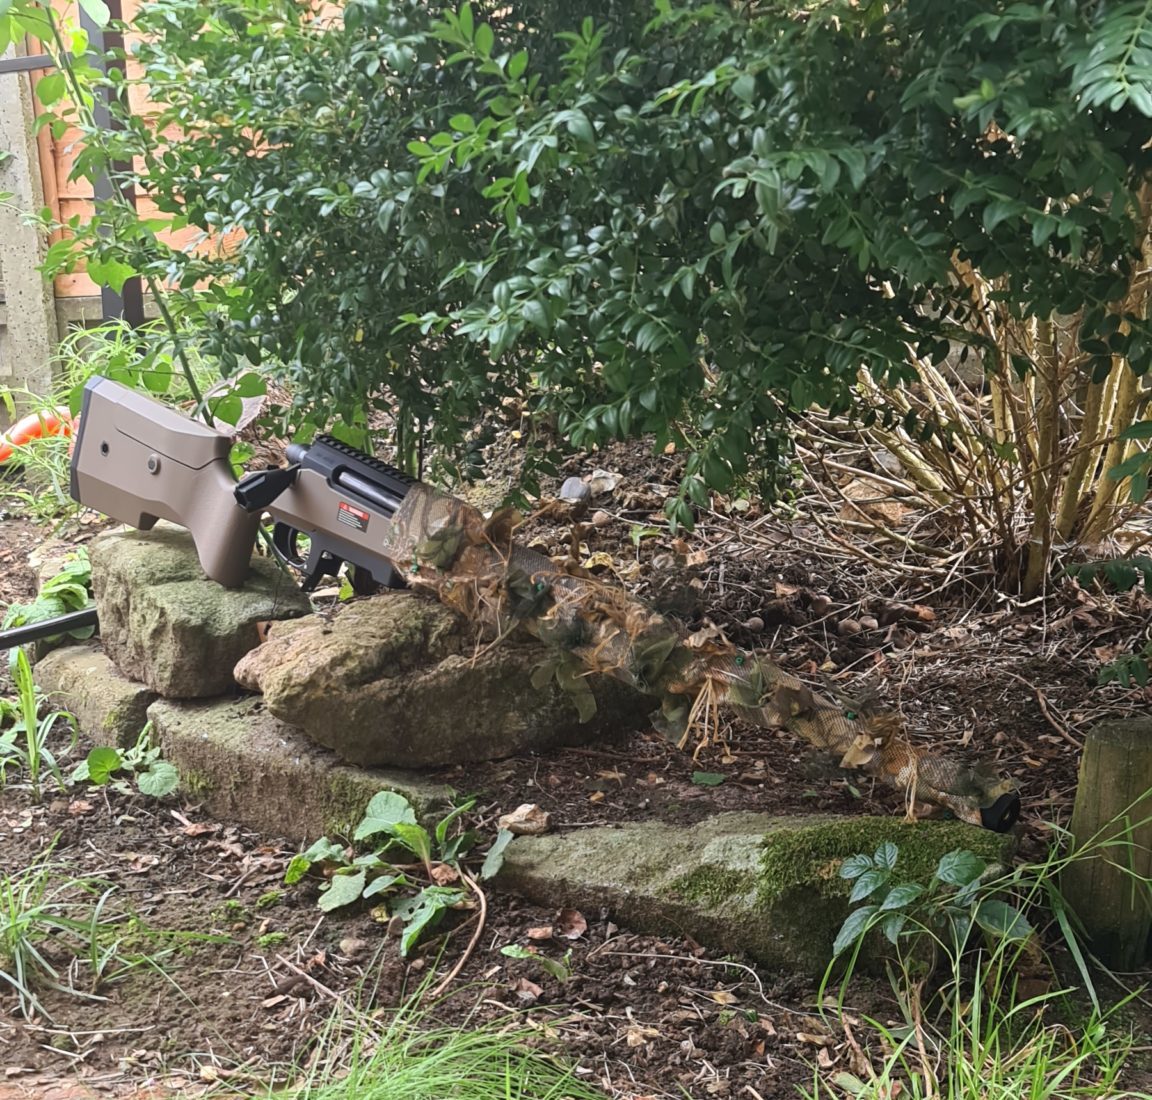
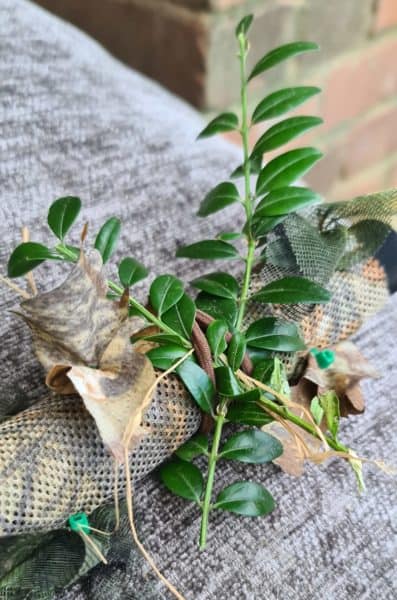
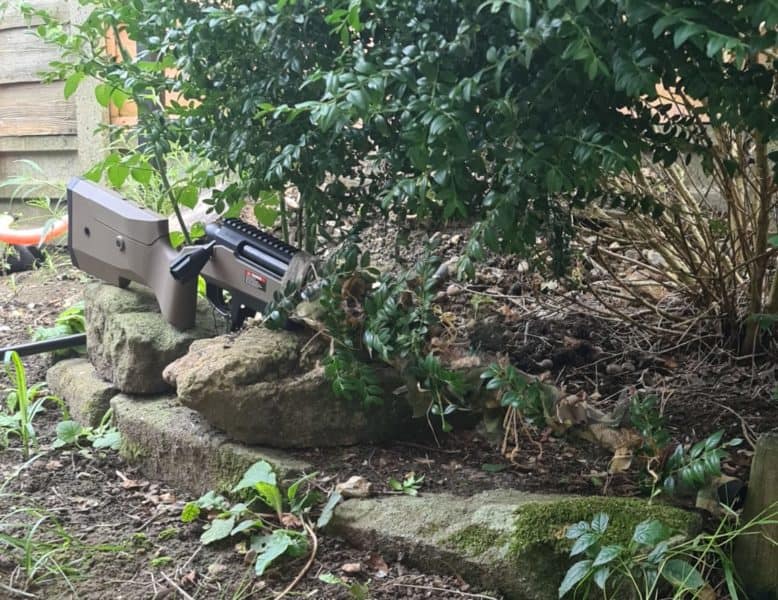
Optional Step 7 – Adding natural foliage, I’ve been limited to my garden recently so I just grabbed some branches of the bush I was using for pictures, as you can see it’s literally case of just chucking stuff under the hairbands, you can use long grass, twigs, small branches etc.
RIFLE WRAP FINAL RESULT
With the above steps followed (Artistic flair added too if you’re that way inclined) you should end up with a basic and lightweight rifle wrap, in my case it was made for the Silverback Tac-41 rifle. However these steps can really be used for any rifle or rifle scope.
Below are some images of the Ghillie Rifle Wrap, one without the elastic bands on, just showing the basic rifle wrap and how it’s broken up, not overcrowded and simple. The next image has the elastic bands on and I’ve thrown on some real foliage to show how it looks.
Thanks again to Empire Airsoft for sending me the Kicking Mustang KMCS Mesh and Leaves.
Remember guys, if you’ve enjoyed this post or any of the other content I’ve put out, please check out my other platforms and consider becoming a Patreon