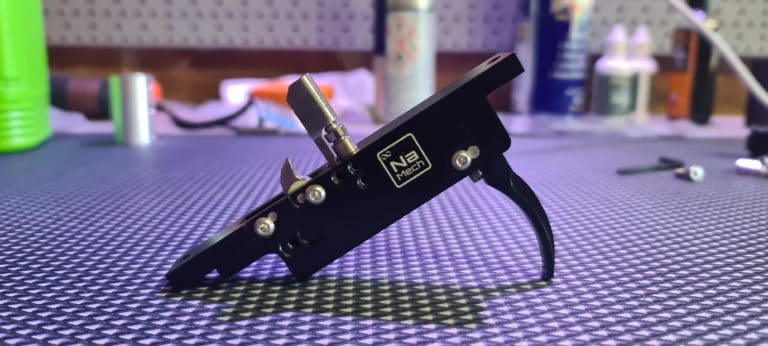
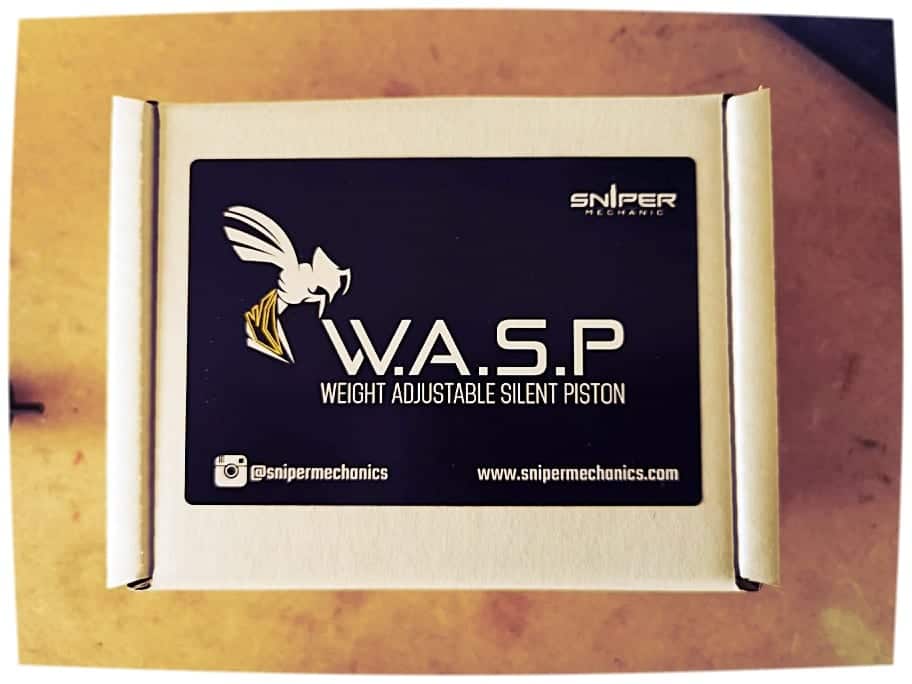
SRS W.A.S.P Information
SRS W.A.S.P Intro:
First let me start by thanking you, if you’ve purchased a SRS W.A.S.P, you’ve helped support me, my blog and the original designer behind weighted adjustable, airbraked pistons.
The SRS W.A.S.P is designed to get you the most out of your Silverback SRS rifle and give you a huge amount of adjustability in terms of tuning your rifles power.
This blog post is a brief summary of the W.A.S.P, how to set it up and some general tips and tricks.
There will also be a video available soon over on my YouTube channel.
In the SRS W.A.S.P package:
When you get your SRS W.A.S.P, the package will include the below:

-
Piston Body
-
Plastic Sleeve
-
Aluminium Sleeve
-
Steel Sleeve
-
1 Piece Steel Spring Guide
-
Brake Plug
-
Taper Brake
-
Full Brake
-
PU80 cups (Only one in Gen2)
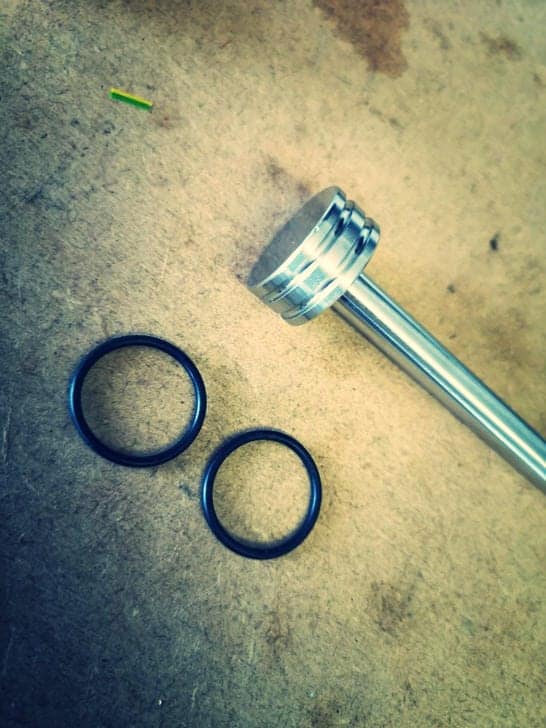
-
2 x Orings
-
Front Securing Ring
-
Steel Rear Sear (19 degree)
-
POM Guide Ring
-
3 x Spacer Rings (these are specific to the included spring guide)
There are two cups included, namely because there was a mix up at the factory and the cups originally sent weren’t the same as the ones I’d been testing and were softer.
However due to the varying weather conditions people play in it turns out the soft cup works very well in cold temperatures and gives a consistent drop in FPS over the harder cup, so I included them as a spare for cold weather and if you have the perfect set up, but are slightly to hot, you can swap cups. Bear in mind this soft cup is essentially a freebie.
SRS W.A.S.P Setup:
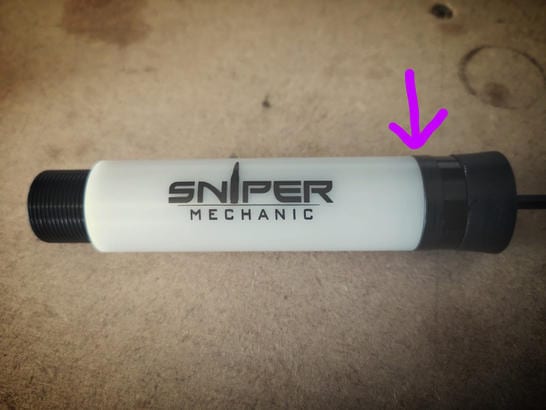
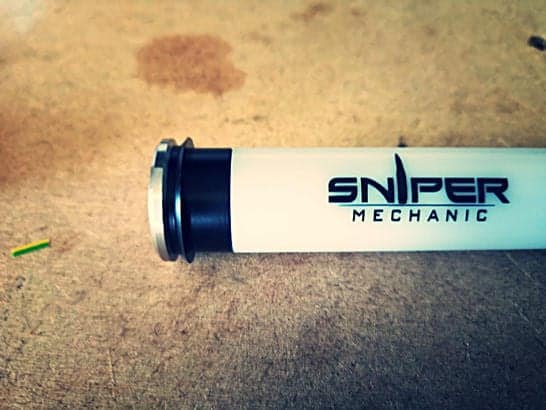
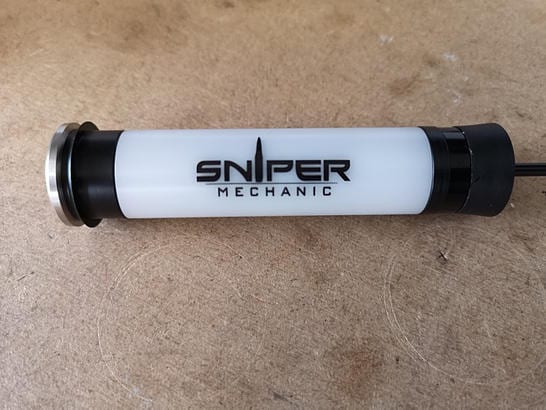
The piston goes together as per the below picture, please note that at least one sleeve must be on the piston, as they serve as a support and are part of the assembly structure.
-
Install the cup
-
Install the brake/non brakes attachment of your choice (PTFE tape thread)

-
Install the securing ring
-
install one of the sleeves and tighten against the securing ring
-
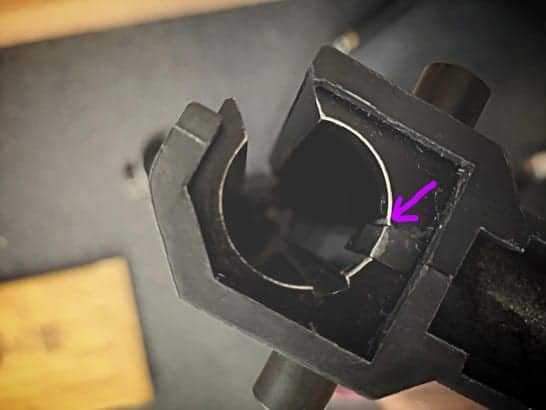
install the rear guide ring onto the sear
-
install the rear sear and guide ring onto the piston
Your piston is now good to go, you can at this point add a small drop of silicon oil to the outside of the cup and manually open it out.
I advise not using loctice on the rear thread until you’ve tested the different setups and decided on what you’ll be using.
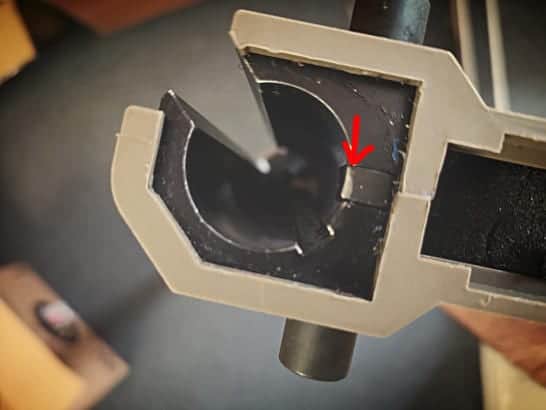
Depending on how your sear height is set, you may need to lower it. the reason for this is the stock piston has no guide ring and as such it can move more freely inside the receiver allowing it to essentially “hop” over the rear sear.
However due to the increased tolerances and rear guide ring, the SRS W.A.S.P eliminates this space and requires the sear to be practically flush with the received when the trigger is installed
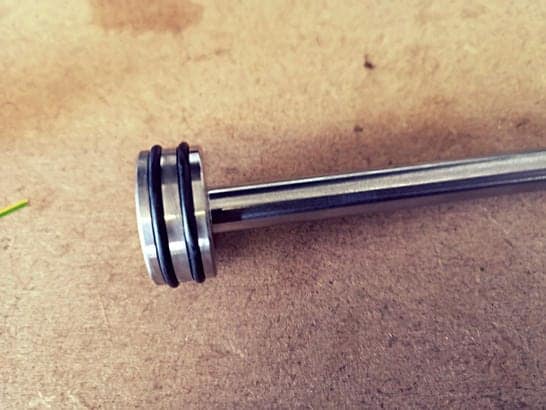
With the spring guide, simply slide on the 2 orings in the cutouts on the guide base, add a smidge of grease to the rings and spring guide rod, then gently install it into the rear buttpad, by design the spring guide does not slide in the receiver like the stock spring guide.
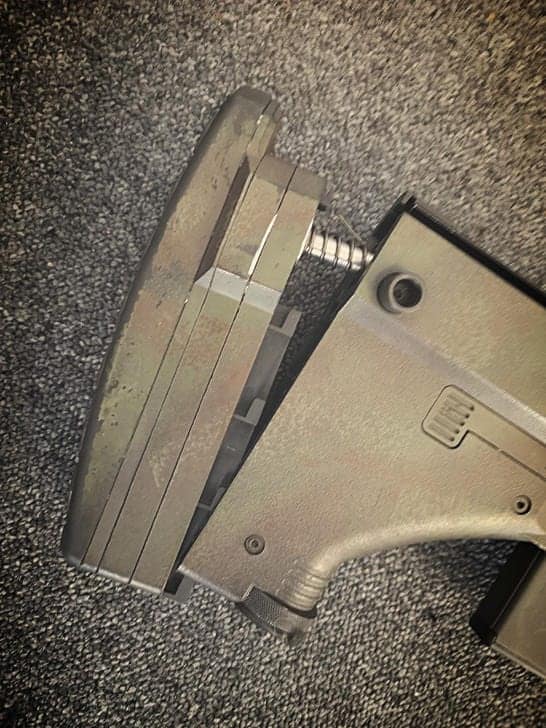
To install the spring guide and butt pad into the rifle, you have to angle it in, then slide up as per the image below. At this stage there is a mod you can do which is shown later down the page:
With everything installed, you’re now good to go. I suggest having a play with different springs and weight, spacer combos to see what suits your particular build, as no two rifles are alike.
Tips:
Some additional tips which are purely optional are:
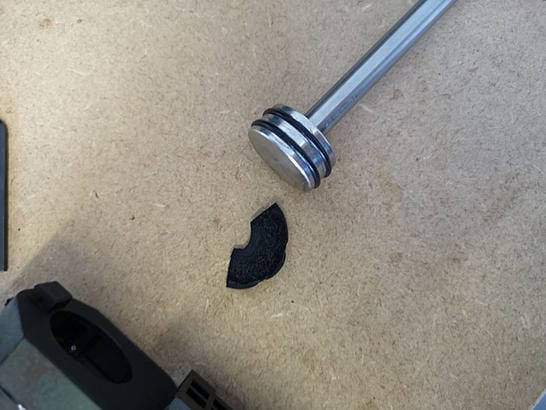
Smooth Bolt Return
Simply add a piece of foam/rubber cut into a hald circle at the base of the buttpad where the spring guide goes, this will angle the spring guide up helping with the install if you have issues and reduce friction on the guide ring/piston, allowing the bolt to freely return under it’s own weight.
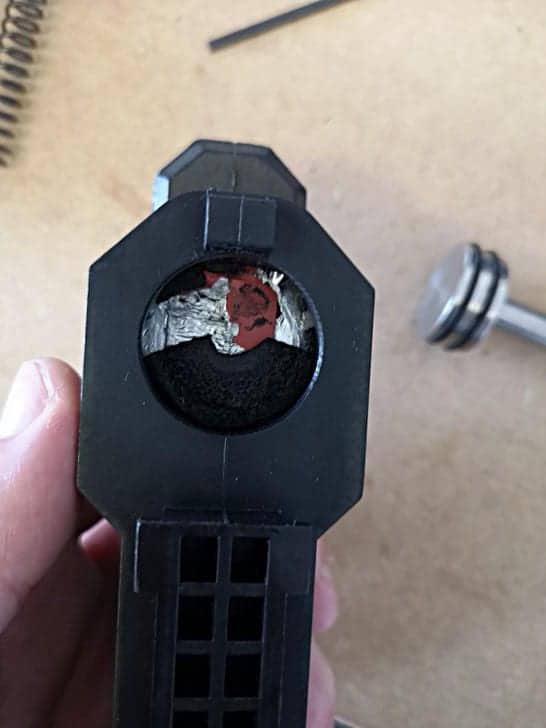
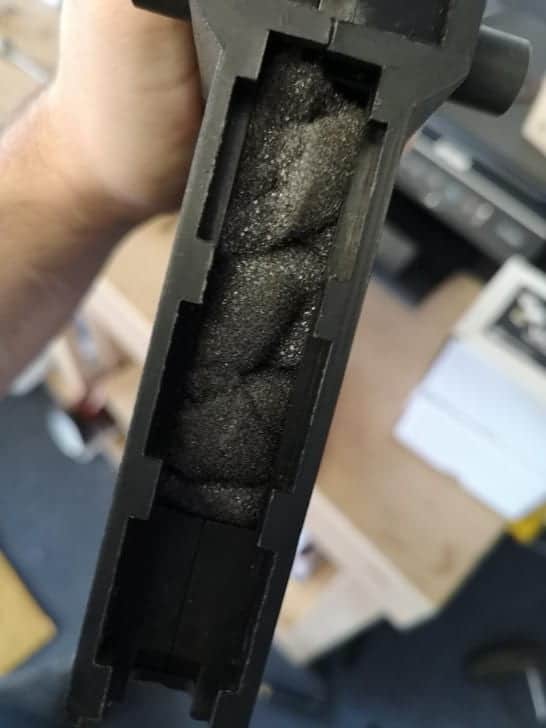
Sound Mods:
Simple mods which I covered in my SRS guide here, are to add foam wherever there is space in the buttpad area of the rifle.
Notes:
All Silverback springs have been tested and work, the only odd one out is the M150 spring which due to the amount of coils cannot use all of the included spacers.
PDI APS2 springs work and give up to 4.5J depending on your setup.
Modify APS2 springs also work and have quite an easy bolt pull, I use the M150 in my gspec built.
Guarder APS2 springs also work, I’ve tested the M150 with no issues, this spring cna give pretty high joules.
Maple Leaf SRS springs are untested as I’ve yet to get my hands on them.
Rapax Springs work
The W.A.S.P does not work in other cylinders, or with other spring guides.
When using the airbrake, please bear in mind this is only effective up to a certain point in terms of power gains over the non airbraked setup. This is due to how the air works inside the cylinder, at a certain point the sheer power of the spring and piston result overide the airbrakes function and slow to air down to much causing a loss. This “break point” will depend entirely on your setup. That being said, due to the guide ring and cup design alone, even at 4.5J, weighted and unbraked the sound is still reasonable.
Links:
SRS W.A.S.P – Empire Airsoft
Other Products