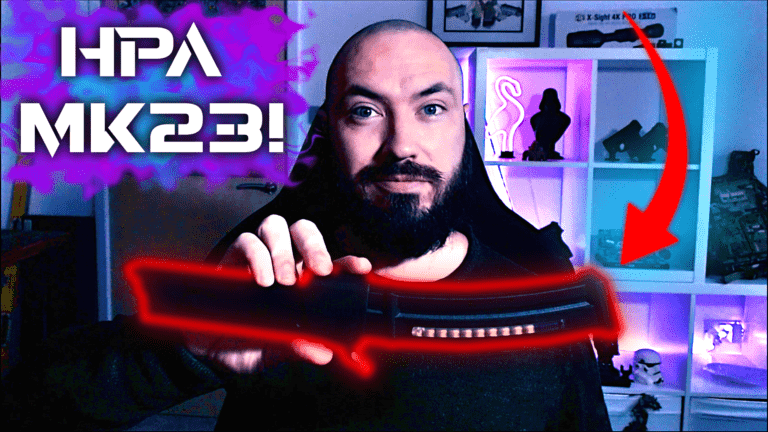
MK23 DMR Build Part 1: Foundry Airsoft MK23 Carbine Kit
Introduction to the Foundry Airsoft MK23 Carbine Kit:
So following the poll I did for what builds you like to see next, an MK23 DMR was in the top 3. So with that in mind I’ve picked up a the Foundry Airsoft MK23 Carbine kit and some other parts.

Initial thoughts:
Having seen some 3D kits floating around for the MK23 I decided to contact Alex over at Foundry Airsoft and source one of his kits.
Alex was a pleasure to talk to and we spoke at length about the kits, some future additions to the kits he’s working on and other accessories to help.
One thing I’ll note as the forums and FB seem to be riddled with it. I’m fully aware this isn’t a DMR by everyone’s standards. But at the end of the day, this is airsoft and in my opinion I don’t particular mind what it’s called.
Construction:
I received the kit in a well packed box, everything arrived safely which is always a bonus with RM.
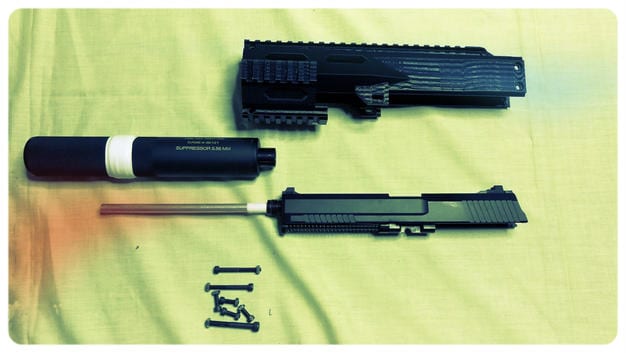
Upon opening the box, I was greeted with the MK23 DMR kit. The kits requires some basic assembly and you’ll get the below in the box.

The kit is 3D printed so expect the usual small burrs and general tidying up of some parts and edges etc, these only take a few minutes to tidy up.
The MK23 DMR kit has a glossy finish so I do recommend covering the kit in camo wrap or a nice paint job (I’ll be doing this later down the line).

Overall the kit looks great and comes with various extensions to suit whatever build you have in mind, with other extensions and modular parts coming soon.
Parts used:
Base Gun = STTI MK23
Foundry Airsoft MK23 DMR Kit
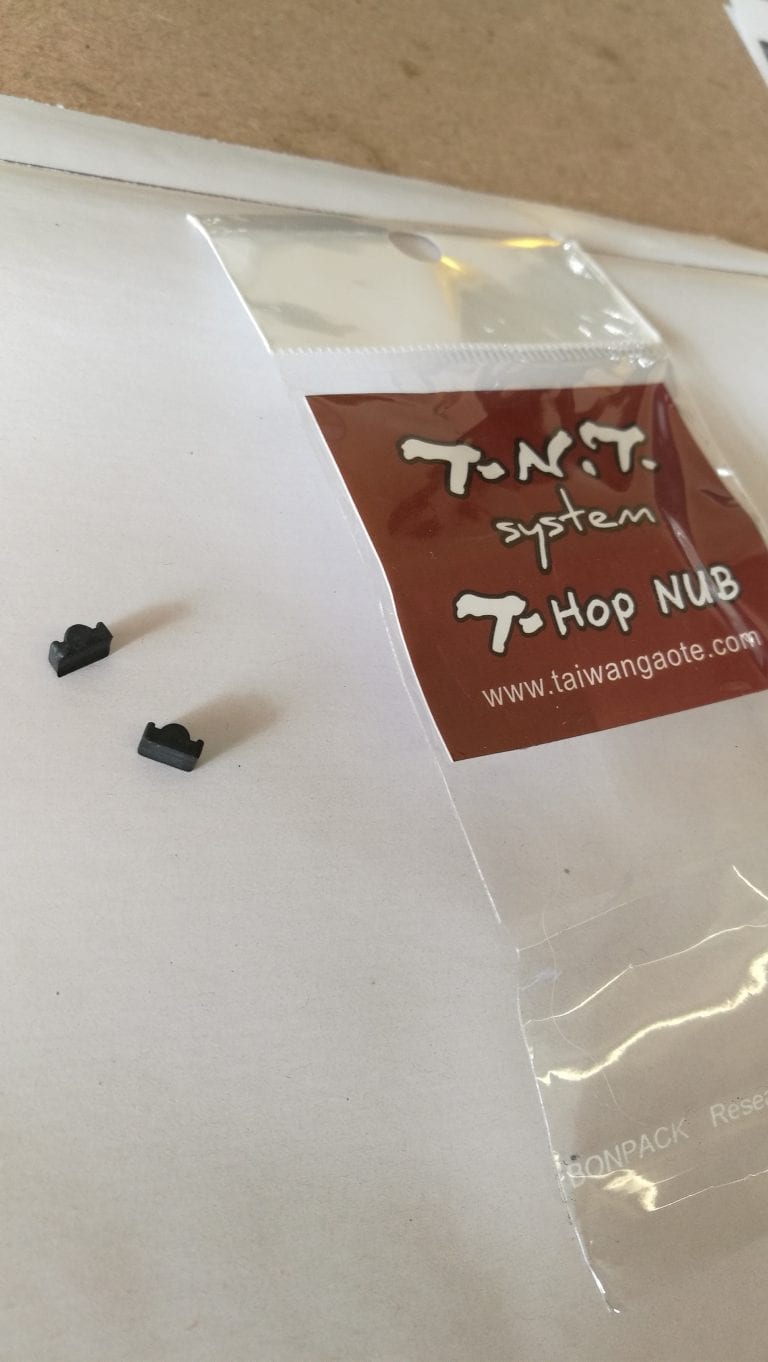
TM VSR Rubber
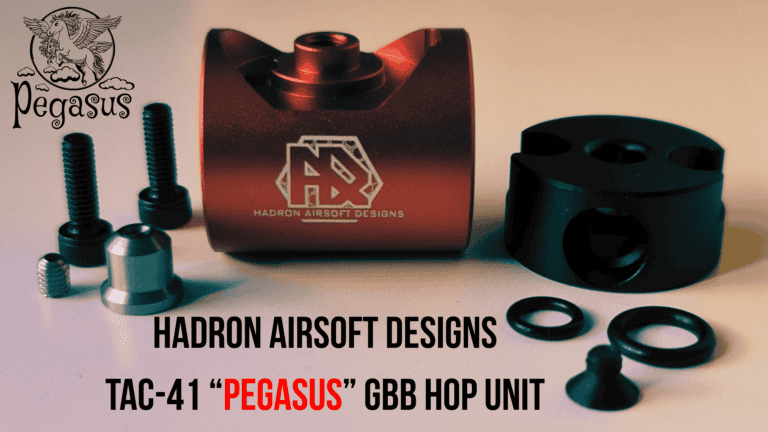
Hadron Airsoft Designs TDC (the quintessential upgrade for MK23’s)
Troy Suppressor
Thread adapter
TM Gspec Inner Barrel (just because I had one laying around)
BattleAxe BUS Stock
Big Dragon M4 Stock Tube
Installation:
First thing I did for mines was install the new inner barrel and hop rubber.
Installing the TDC is as simply as taking the other one off and clipping the Hadron Airsoft Designs one on in its place. I’ve reviewed the TDC hop here.
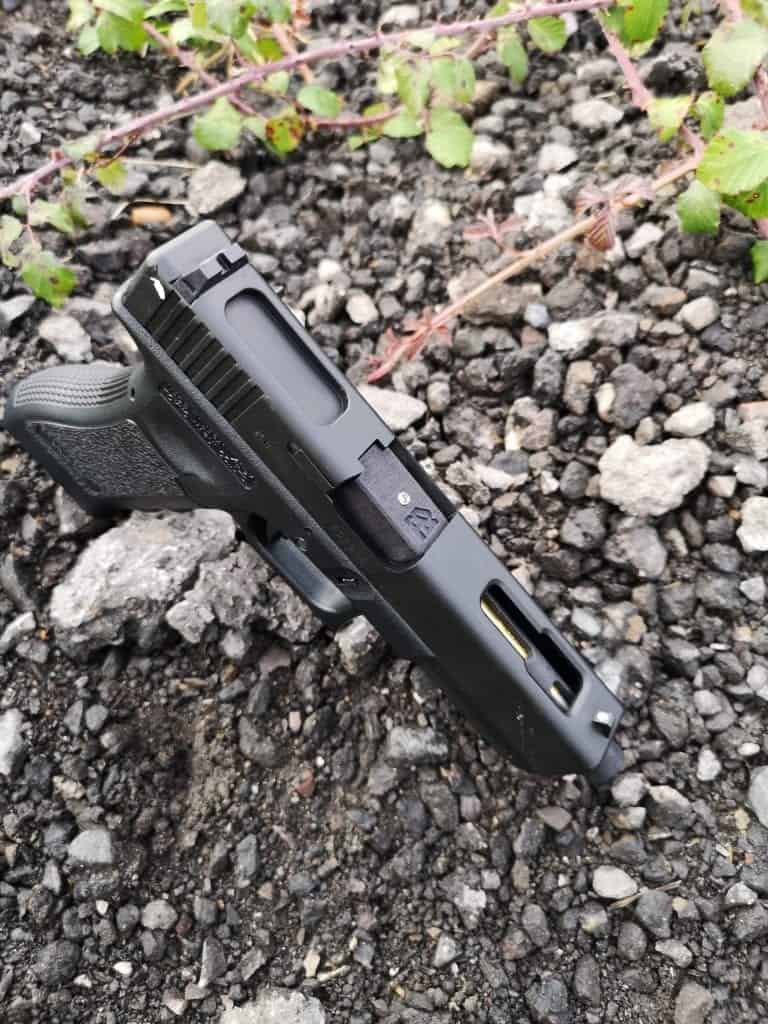
Following this, you need to slide the gun into the kit so the main body hole lines up (use the included bolt to secure). The kit was extremely tight for me so I sanded the rails on mine slightly to allow for an easier installation.
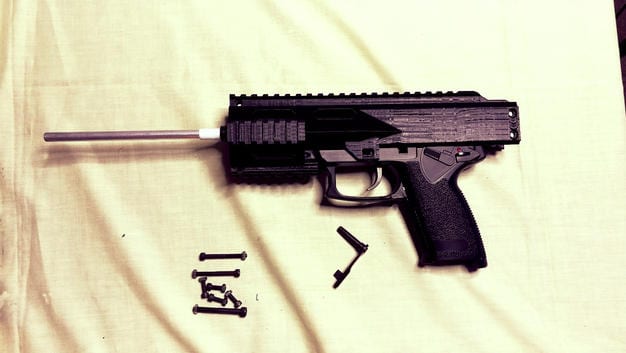
Next assembly the stock section, to do this use the included bolt and spacer to fix the stock tube to the stock block. (the arrow on the block should face down)
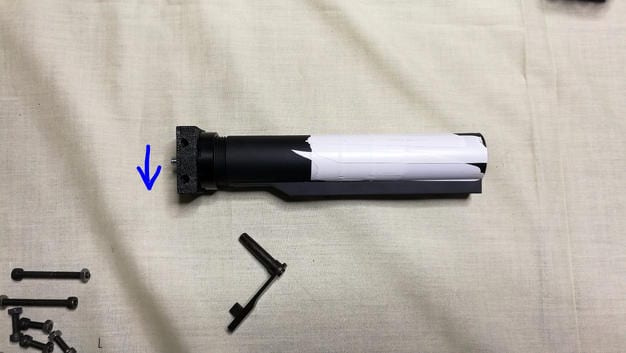
Once you’ve done this line the stock block up with the kit and install the two bolts, this securely fixes it to the rest of the kit.
You should now have the below:
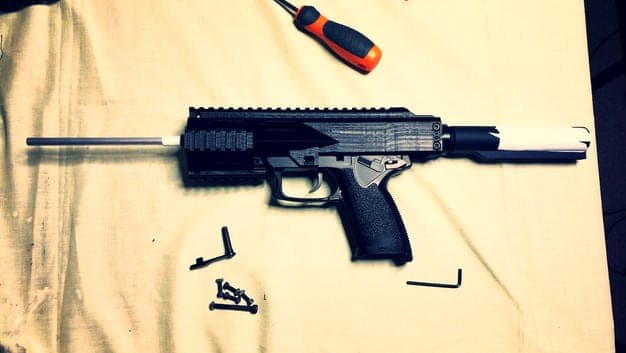

From here you can add the various exertions depending on if you’re running a long suppressor or a thread adapter and barrel extension. The extensions are installed by screwing them together with the provided fittings.
Conclusion on the Foundry Airsoft MK23 Carbine Kit:

I like it….It’s a simple and easy to install kit that functions as it should, giving you some creativity of how you can run your MK23.
While the kit itself offers no advantages in terms of performance, it does give you a solid base to build upon.
Is it worth the price? To some people it definitely will be, for others maybe not. It depends on your style or play and your plans for your MK23.
In part 2 I’ll cover the performance with the Gspec barrel, Hadron Airsoft Design TDC, and high flow valve/HPA.
Please remember to like and share, also head over to our FB page here to see our competition.
Links:
Upgrade Parts: Empire Airsoft
Hadron Airsoft Designs – https://www.facebook.com/HadronAirsoftDesigns/?fref=ts
Foundy Airsoft – https://www.facebook.com/Foundry-Airsoft-1645442879020100/?fref=ts
Remember guys, if you’ve enjoyed this post or any of the other content I’ve put out, please check out my other platforms and consider becoming a Patreon