Ballistic Designs Stencils: Woodland Paintjob
Ballistic Designs IOM Introduction:
So this is going to be a nice and short blog post, just showing a cool item that I was sent from Ballistic Designs IOM
The guys over at Ballistic Designs IOM recently made my patches for me and we got talking, specifically about the stencils that they do for painting. After a long phone call about them, how they work, what patterns they do etc, I decided on a woodland one and a digital one.
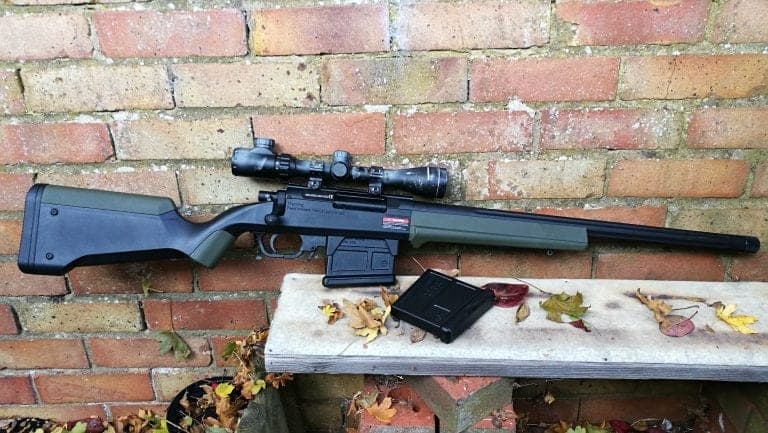
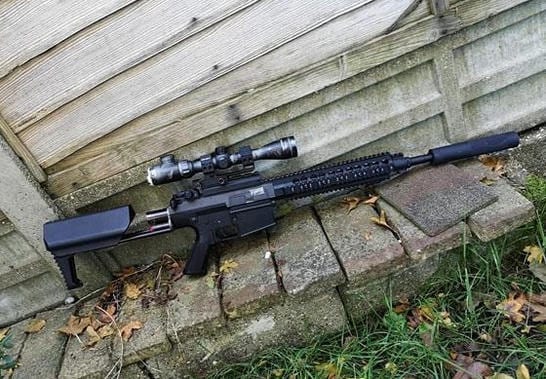
After some mix ups with good old Royal mail losing items, I finally got the stencils, just in time for the Redline N7 Milsim build I’d just finished.
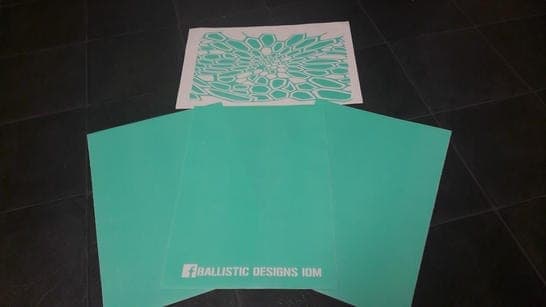
What you get:
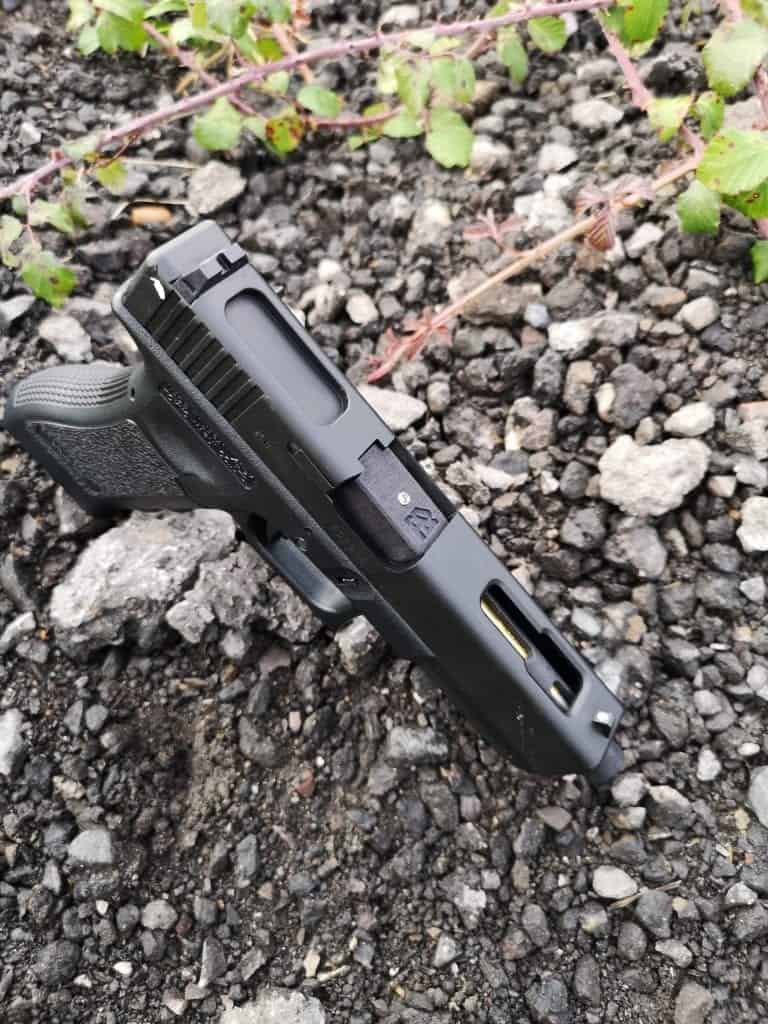
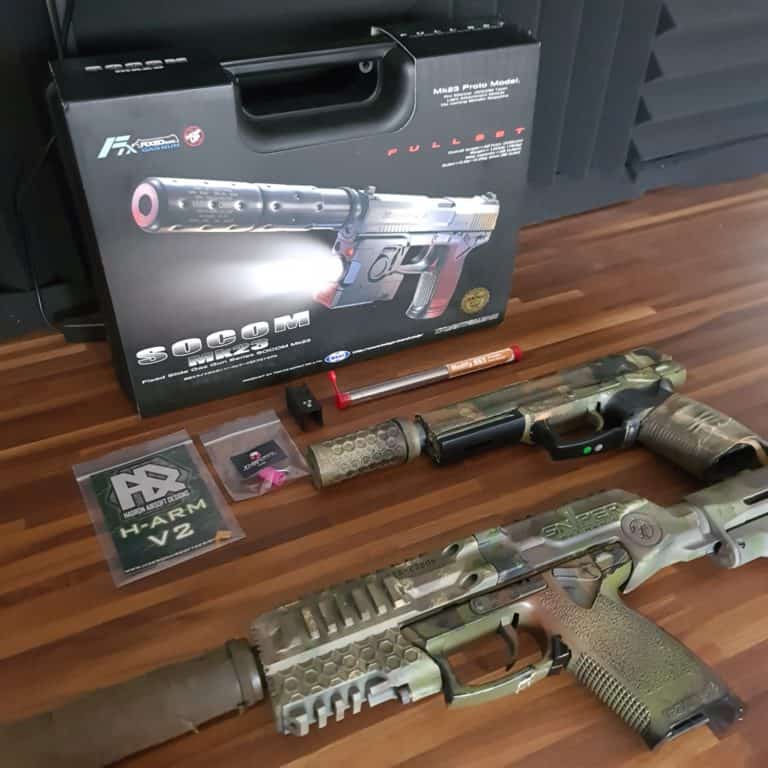
In the package you’ll get a few sheets of vinyl which have the desired pattern cut out of them, in this case I went with woodland for the SR25.

Preparation:
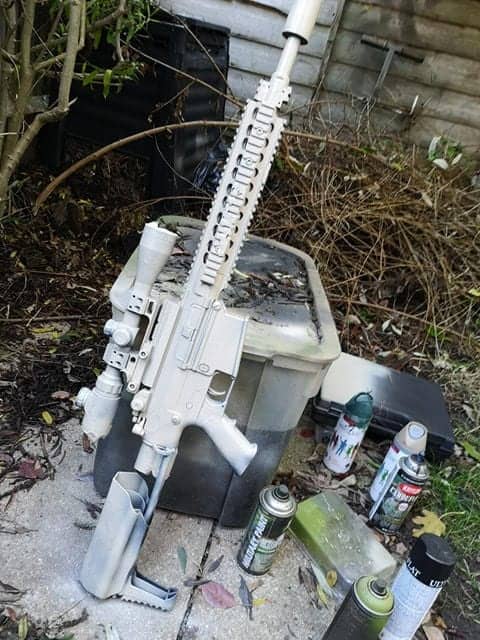
Firstly you’ll want to rough up any of the service to give the vinyls and paint something to adhere too, then give it a clean to remove any excess dust etc.
Once the base is ready you need to decide on the colour scheme you want to go for. Being my first time using stencils I didn’t have a solid idea of how to approach it beyond stick stuff on and paint, but I did learn some things doing this particular one which I’ll cover later.
So in my case, I left the base rifle black however in future I’d probably start with a tan or brown base, depending on the scheme you’ve opted for.
First step is simply use a sharp knife to pick of the stencils and begin to lay them over the rifle.It’s entirely up to you how many you use, I was a bit reserved on mine as I didn’t really grasp how much would be needed lol
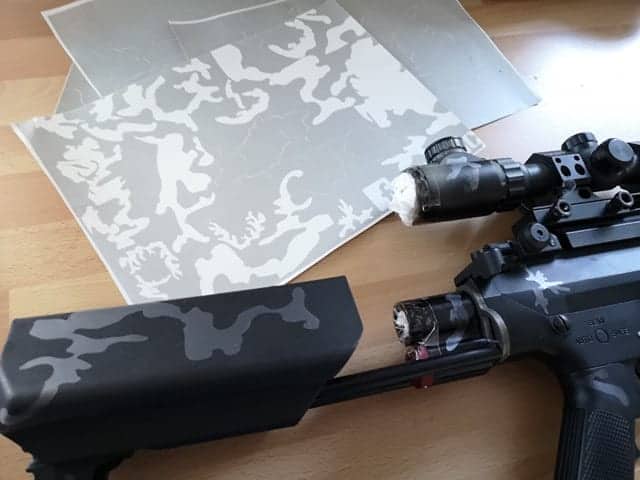
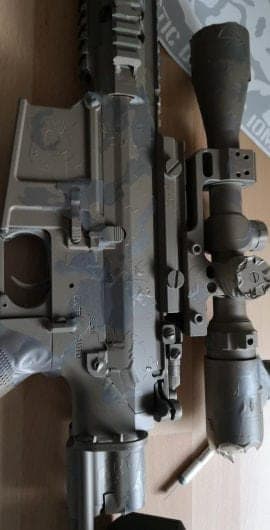
Once you have the first layer of stencils on, you can go ahead an add your first layer of paint, ideally you’ll want something such as Krylon, as it’s thin and spreads well.
With your first coat on you’ll want to let it dry completely, this will vary based on brand used etc.
After the first layer is done, simply repeat the steps for each subsequent layer. With each additional layer ensure that a few of the stencils overlap each time, especially for this particular pattern as it’s helps blend in the shape.

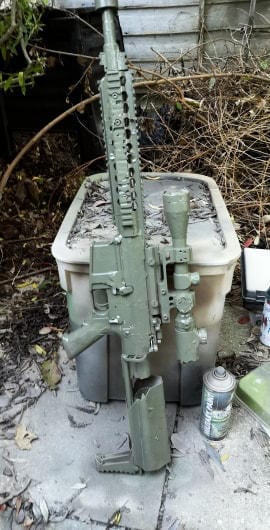
With all your coats finished, you can seal it up with a clear coat, add some dusting to tone it up/down, or depending on the scheme you’ve gone for, you could add artificial wear etc.
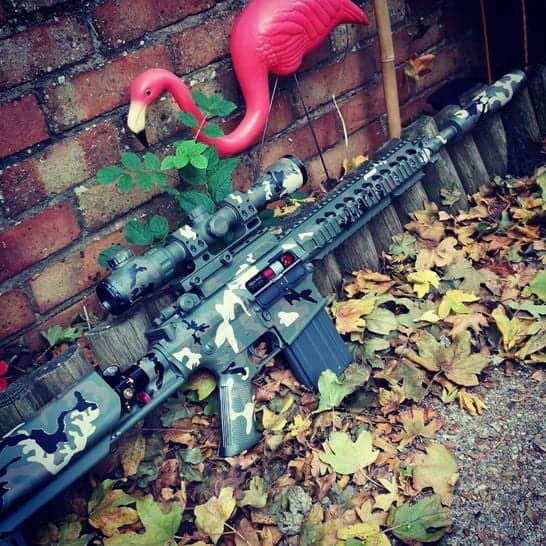
Final Thoughts On Ballistic Designs IOM Stencils:
Overall I was really happy with the outcome, the stencils are good and very easy to use. I only had one minor issue which was that after the first coat a handful of the stencils started to curl and peel, this seems to be down to the paint I used, it was very thick and didn’t dry very quickly, that mixed with the fact I was painting outside in the cold, made for less than ideal conditions.
I think with the next item I paint, I’d go with a a different brand of paint, more than likely Krylon or Fosco. Alongside that I’d be more generous with the stencils used.
Links:
Ballistic Designs IOM: https://www.ballisticdesigns.im/https://www.ballisticdesigns.im/