KC02 Build: RogueWorx, TNT Studios, FG Airsoft
KC02 Introduction:
So recently I picked up a few KC02 rifles of one of the forums, having used them before and seen a few in the field, I opted to get them as they were such a good price and came with some minor upgrades etc.
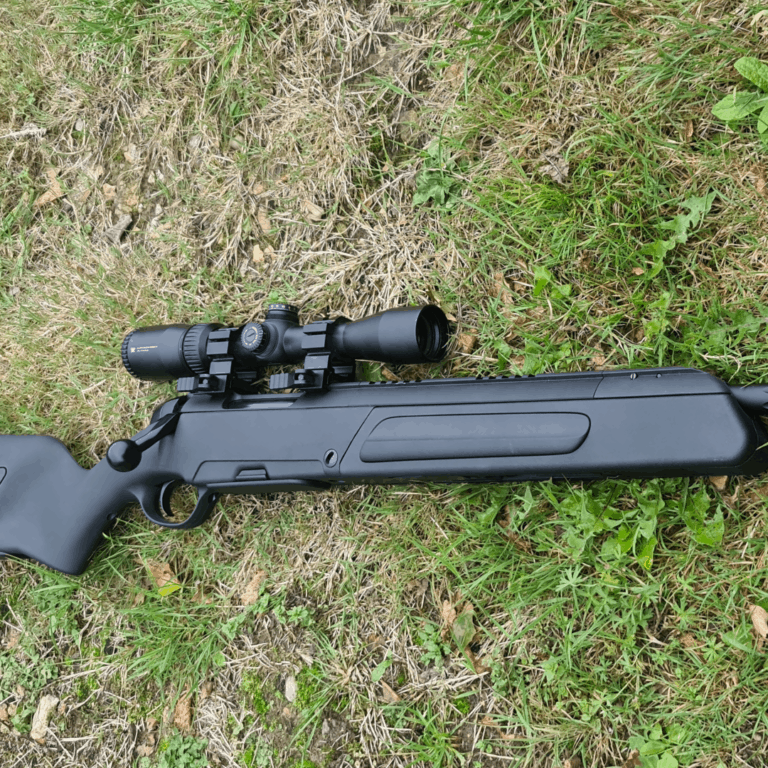
Out of the 3 KC02 rifles, one of them I’ve decided to keep and run as a DMR going forward.
As usual, I went to the forums and Facebook pages to find out what peoples thoughts were on upgrade options etc.
Almost every single thread, comment, suggestion in recent months simply said “Rogueworx”.

I decided to drop them a message over Facebook and after a good old chat, I was sold. I decided on buying (yes buying, no freebies/sponsorship!) a mix of their internal and external parts.
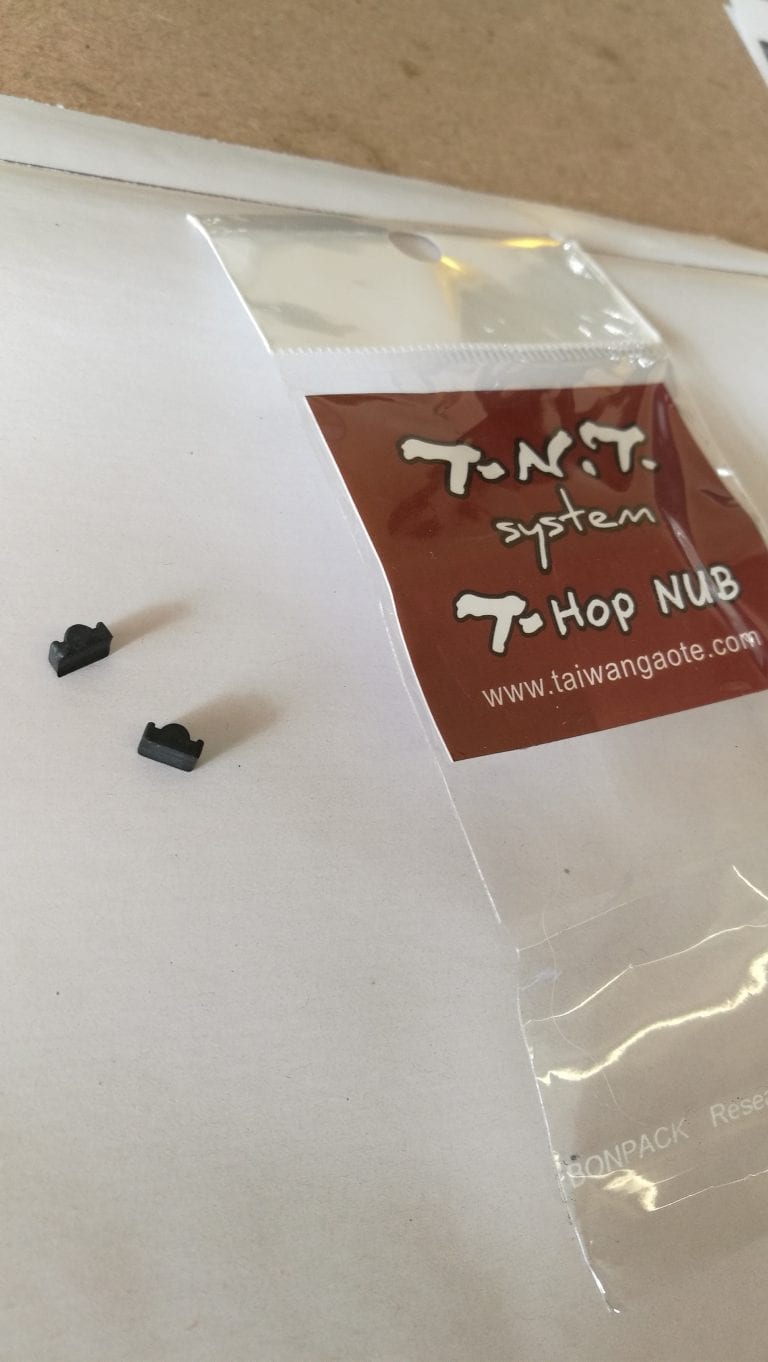
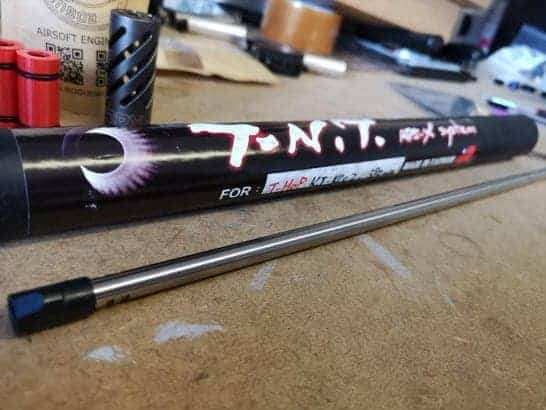
Alongside the RogueWorx parts I also decided to add a TNT Barrel set as I’ve had great results with their stuff in everything else and also some restrictor disks from FG-Airsoft.
Parts:
After speaking to the two gents over at Rogueworx I decided on getting the below parts:
Black Anodised Bolt (They even did my logo)
Piston
3 x Buffer Pins
Set of hop keys
Barrel Spacers
Bolt Handle
Twister Muzzle Brake
Sabre Mag Release Catch


The packaging of the parts was really nice, a plastic internally coated paper bag with a clean and crisp minimal design whilst being instantly recognisable as a rw product. Everything arrived safe and sound, as well as being well packaged.
The actual parts themselves are simply put……BEAUTIFUL.
The quality, feel and finish of each component was truly outstanding. There were no defects, scratches or imperfections of any kind from what I could see.
Alongside the parts above, I also added a TNT Studios barrel set and have some FG-airsoft FPS reduction disks just in case I was over the 1.8J limits or a high flow valve if I’m to low.
Installation:
Having only taken a KC02 apart once before, I went online to jog my memory and then jumped right in.
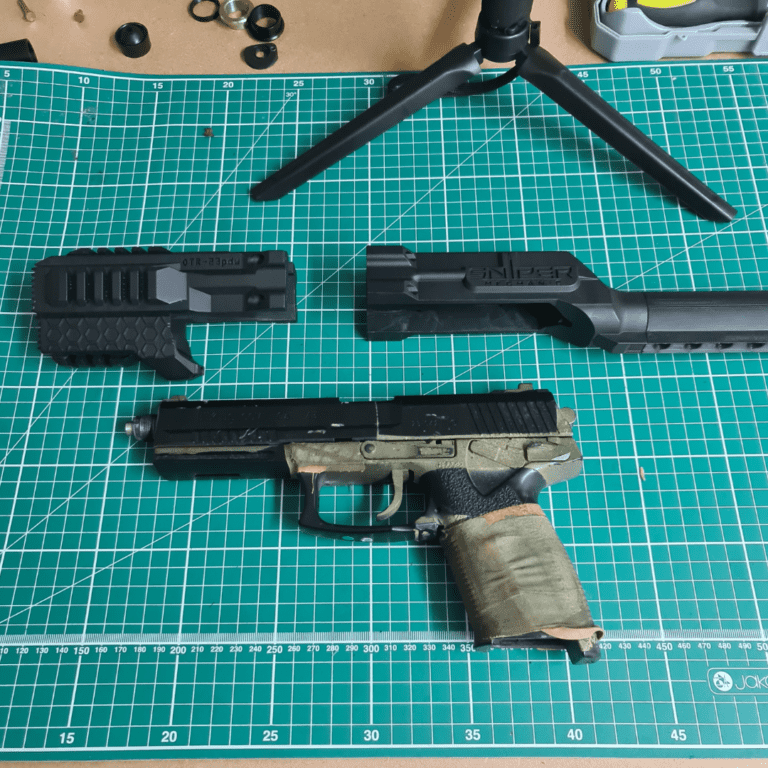
First I need to get to the actual guts of the rifle and get the receiver out of the stock.
1) Remove the 2 receiver screws
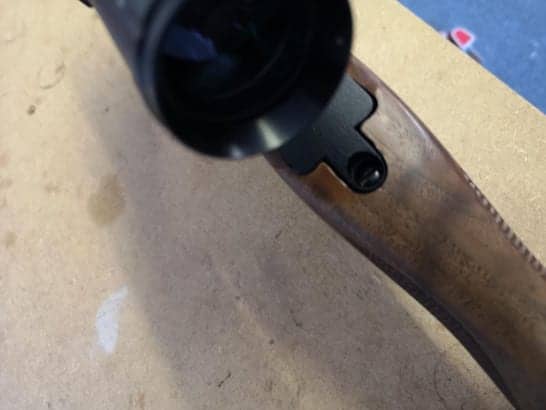
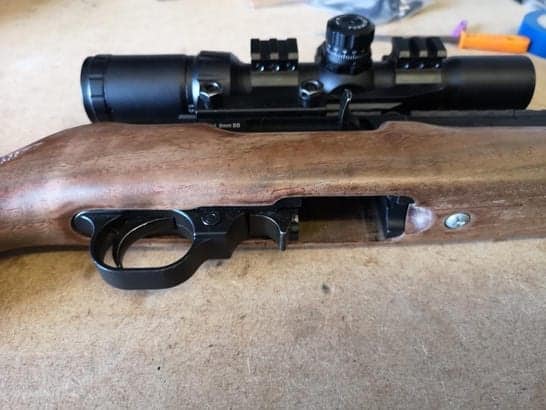
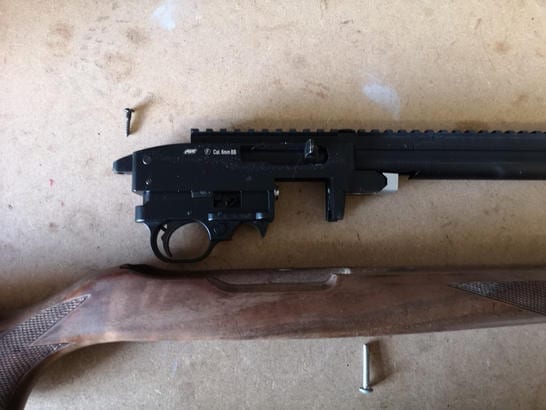
2) Next you’ll want to remove the hop wheel and then all of the scope rails
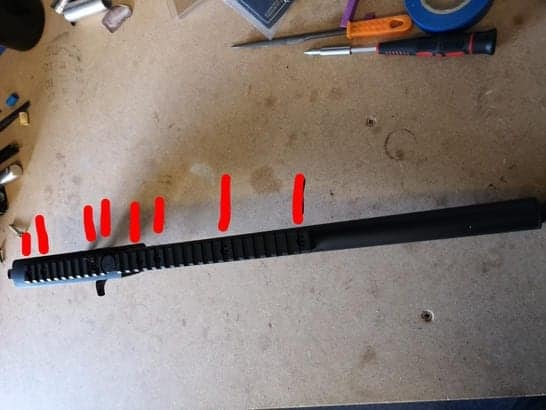
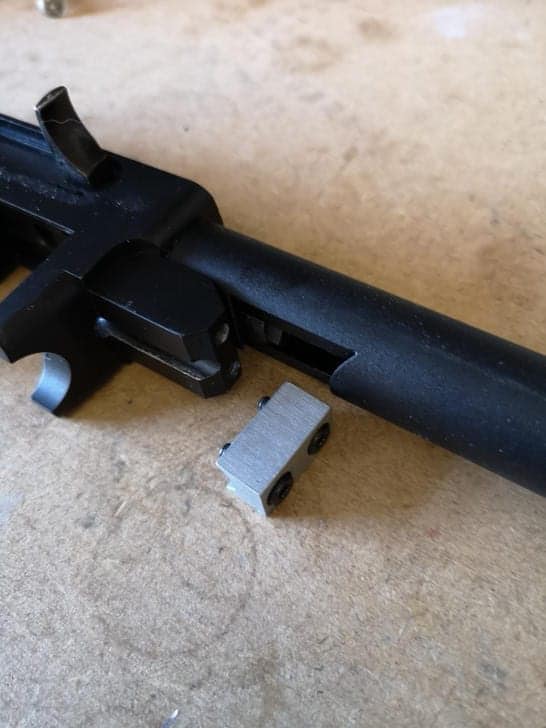
3) Remove the “V” shaped block in order to free the outer barrel and access the inner barrel and hop unit. With this free, you can loosen the large nut on the back of the hop unit to free the bucking and barrel. In my case I’ve swapped over to the TNT bucking and barrel combo.

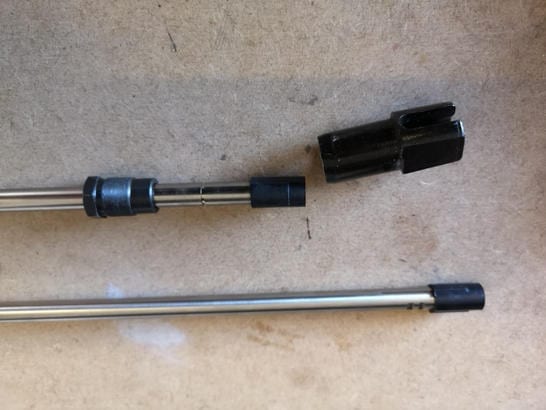
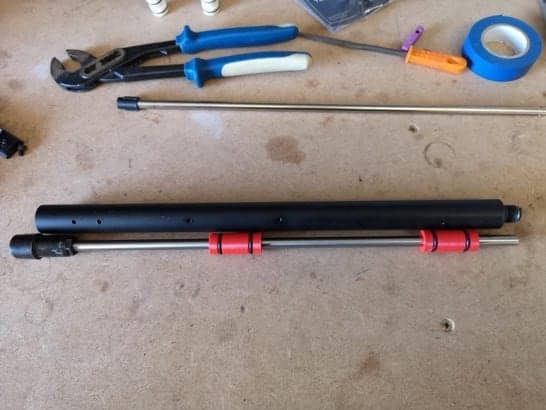
4) For the trigger, simply pop out the two pins to release the trigger unit from receiver, you can also remove the buffer pin too.
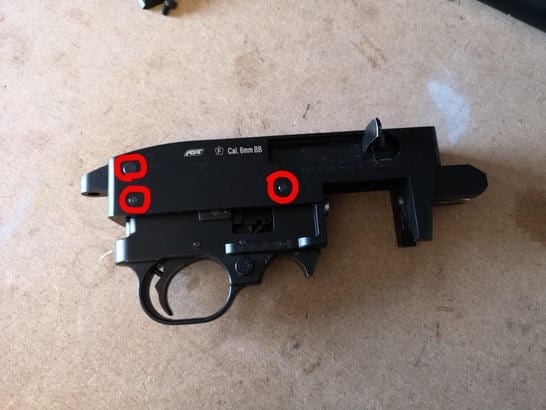
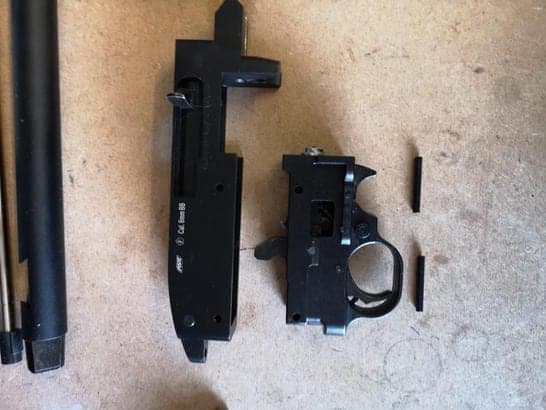
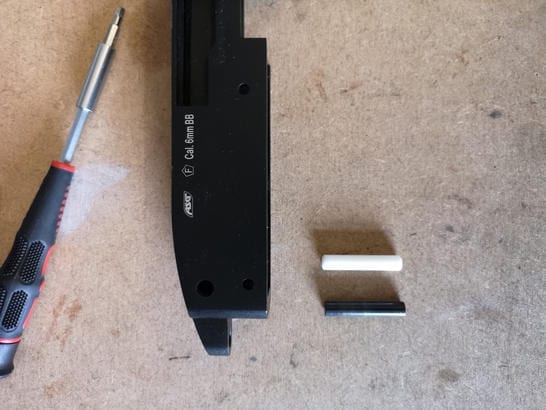
5) pull the bolt back to its rearmost position and then lift up to free the unit, from here you can then also pop out the charging handle and spring assembly.
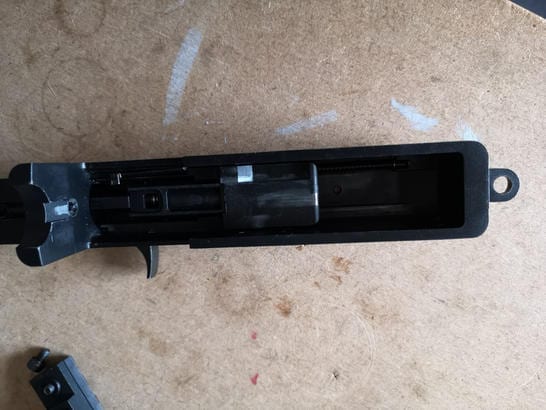
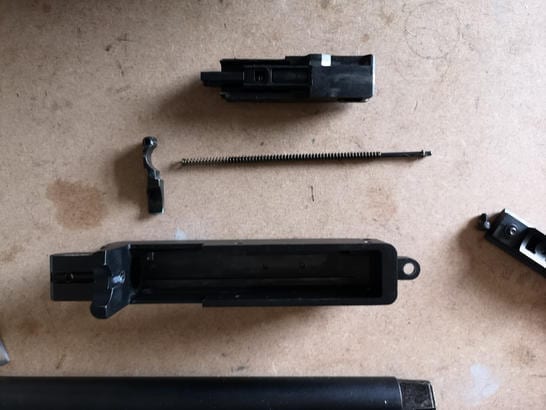
6) now knock out the pin from rear of the bolt in order to access the piston and nozzle assembly.
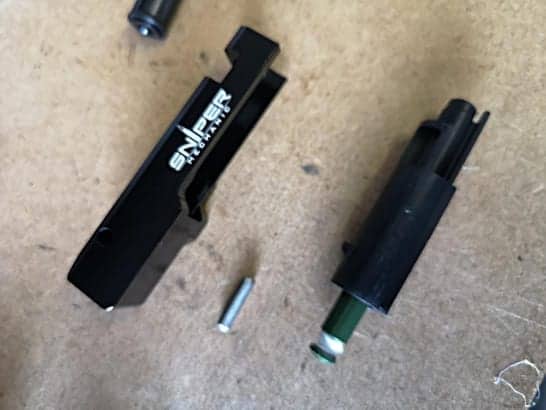
7) this part was a pain to do, but essentially there is a nozzle return spring which has a corresponding pin either end, one inside the nozzle and one at the rear of the piston, you need to tap these pins out, separate and then swap over to the new parts and install. At this point you can add your NPA, high flow valve, restrictor Disk etc. Make sure you add PTFE to the rear of the piston so it’s a snug fit when you reinstall the rear bolt pin,
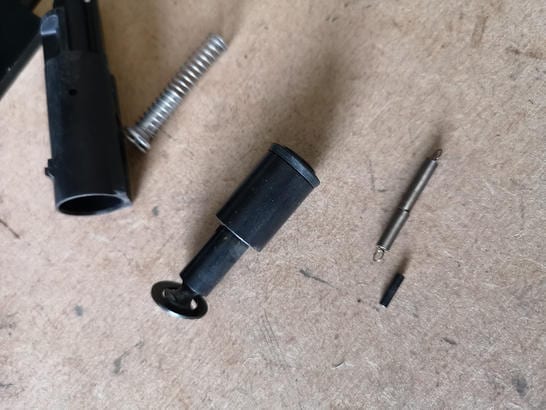
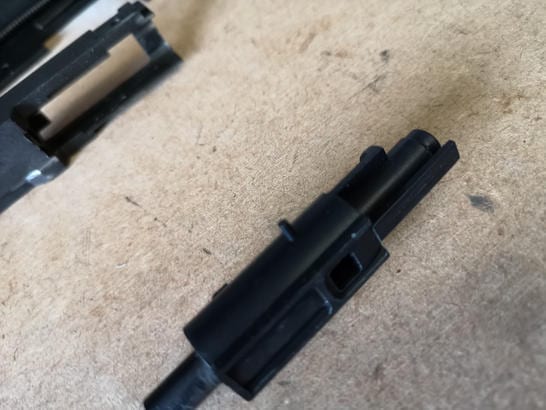
Make sure that you use silicon oil on the piston oring and decent grease on the outside of the bolt. I’ve also linked the below video (which is not mine) which is a very nice breakdown.
Issues:
With the rifle assembled I ran into a few issues:
1) The nozzle was jamming on the top of the magazine, which means the nozzle was never fully returning, this caused huge FPS variances and unstable hop. I ultimately found out it was the wood stock, it had swelled and was pushing the magazine back up against the bolt, causing it to jam. I haven’t fixed this issue yet as I was eager to get a working rifle, so I just popped the receiver into another wood stock that I had.
2) Nozzle was not fully going into the hop chamber, again this caused some minor hop issues and consistency issues. This was remedied by added a a small brass piece from one of my other KC02 rifles into this one, it basically puts additional tension on the return spring for the bolt, giving it a bit more force when it returns to the closed position. This made a huge difference to the variances and hop.
Performance:
This one is hard to compare against a base KC02, as the rifle arrived with some minor work already having been done, but there are a lot of resources out there showing the stock performance of a KC-02 if you’re interested.
With everything installed and running green gas in the mags I was getting an average of 1.7J on 45’s. which is perfect for me as most sites have a DMR rule of 450FPS/1.8J.
Consistency was a bit poor to start with variations of 20 fps between some shots. However after stripping, re lubricating and manually racking the bolt forward a ton of times to get everything to bed in and line up, it began to settle very nicely, down to around 8FPS between shots.
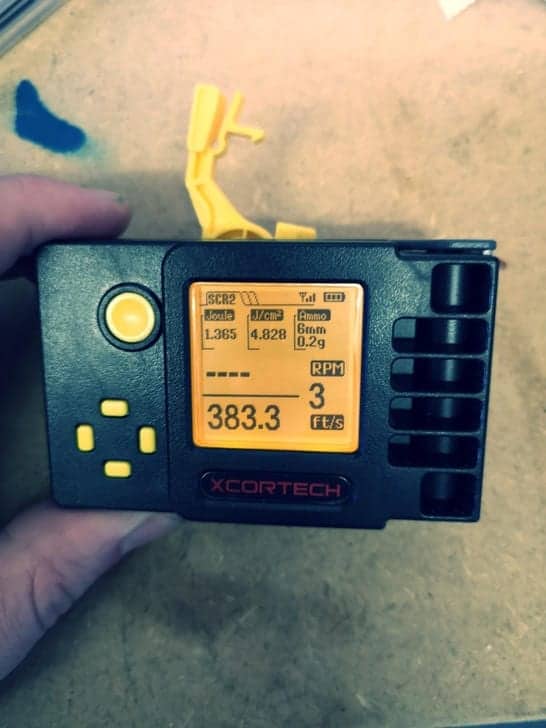
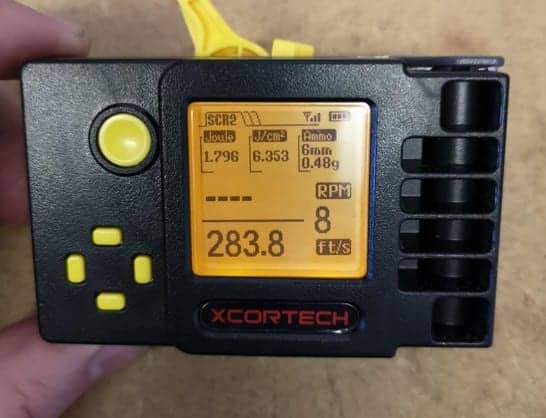
The sound of the rifle was beautiful, nice crisp clack between shots, the action worked smoothly, it was marginally quieter too with the buffer pins I ordered from RogueWorx, though I’m told as these begin to bed in and squash out the tone of the rifle changes and becomes slightly lower, this makes sense as the PTFE is much better as shock absorption than the standard metal pin and the surface area will increase as it flattens.
The range on this build was exceptionally good, the rifle had absolutely no issues sending .48’s out to my 87M benchmark, accuracy was also pretty good for a semi auto rifle. The hop adjustment was very fine and in my case I was over hopping anything over 48’s with just a smidge of hop applied, I think this is due to the varying lengths of the hop wheel, with some being longer and others shorter. I think for some people the hop wheel may need to be shortened.
Final Thoughts:
Overall I’m super happy with how this build has come out, the performance is great for a 1.7J rifle. It’s super light and manoeuvrable, alongside being semi auto it really is a terrifying little rifle!
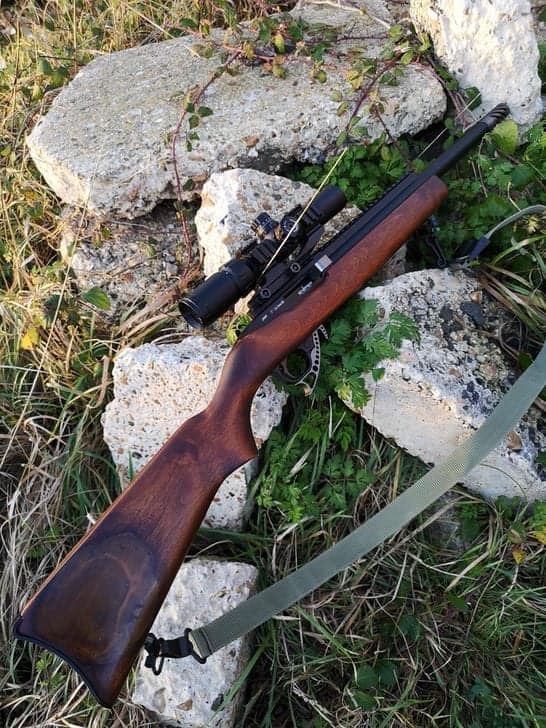
As far at the parts that have gone in it, they are performing very well. The RogueWorx parts look and feel great, they give consistent results and when paired with the TNT bucking and barrel, incredible accuracy and range.
I can easily see this becoming my go to rifle for skirmishing, the fact it’s tiny, light and still gives me 80m plus range with semi auto is extremely convenient, mixed with the sneaky play style I have it’s going to be fun.
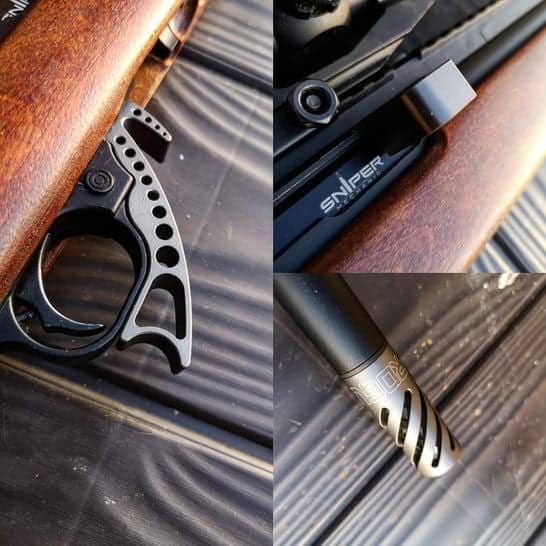
While it isn’t the quietest if rifles (no surprise being a GBBR), it’s ability to get a round down range and on target time after time certainly outweighs the risk of the sound giving away your position.
On a more personal note to the guys over at RogueWorx, they have been an absolute pleasure to talk to, kept me updated on the progress of the parts, alongside just taking such pride in the parts they design and make.
I’ve genuinely been so happy with this build, I think I might actually keep one of the other longer KC02 builds and build another one, I have a standard Rogueworx piston and bolt in one of the builds that came pre upgraded of the forum, albeit it is missing some other parts, so I’ll see how that one comes it, might try to get it so it’s single shot only so I can use it at the 2.3J mark. Though I don’t think the gents at RogueWorx would approve 😛
Links:
Remember guys, if you’ve enjoyed this post or any of the other content I’ve put out, please check out my other platforms and consider becoming a Patreon

