Amoeba Striker AS03 Budget 1J Build
Amoeba Striker AS03 Introduction:
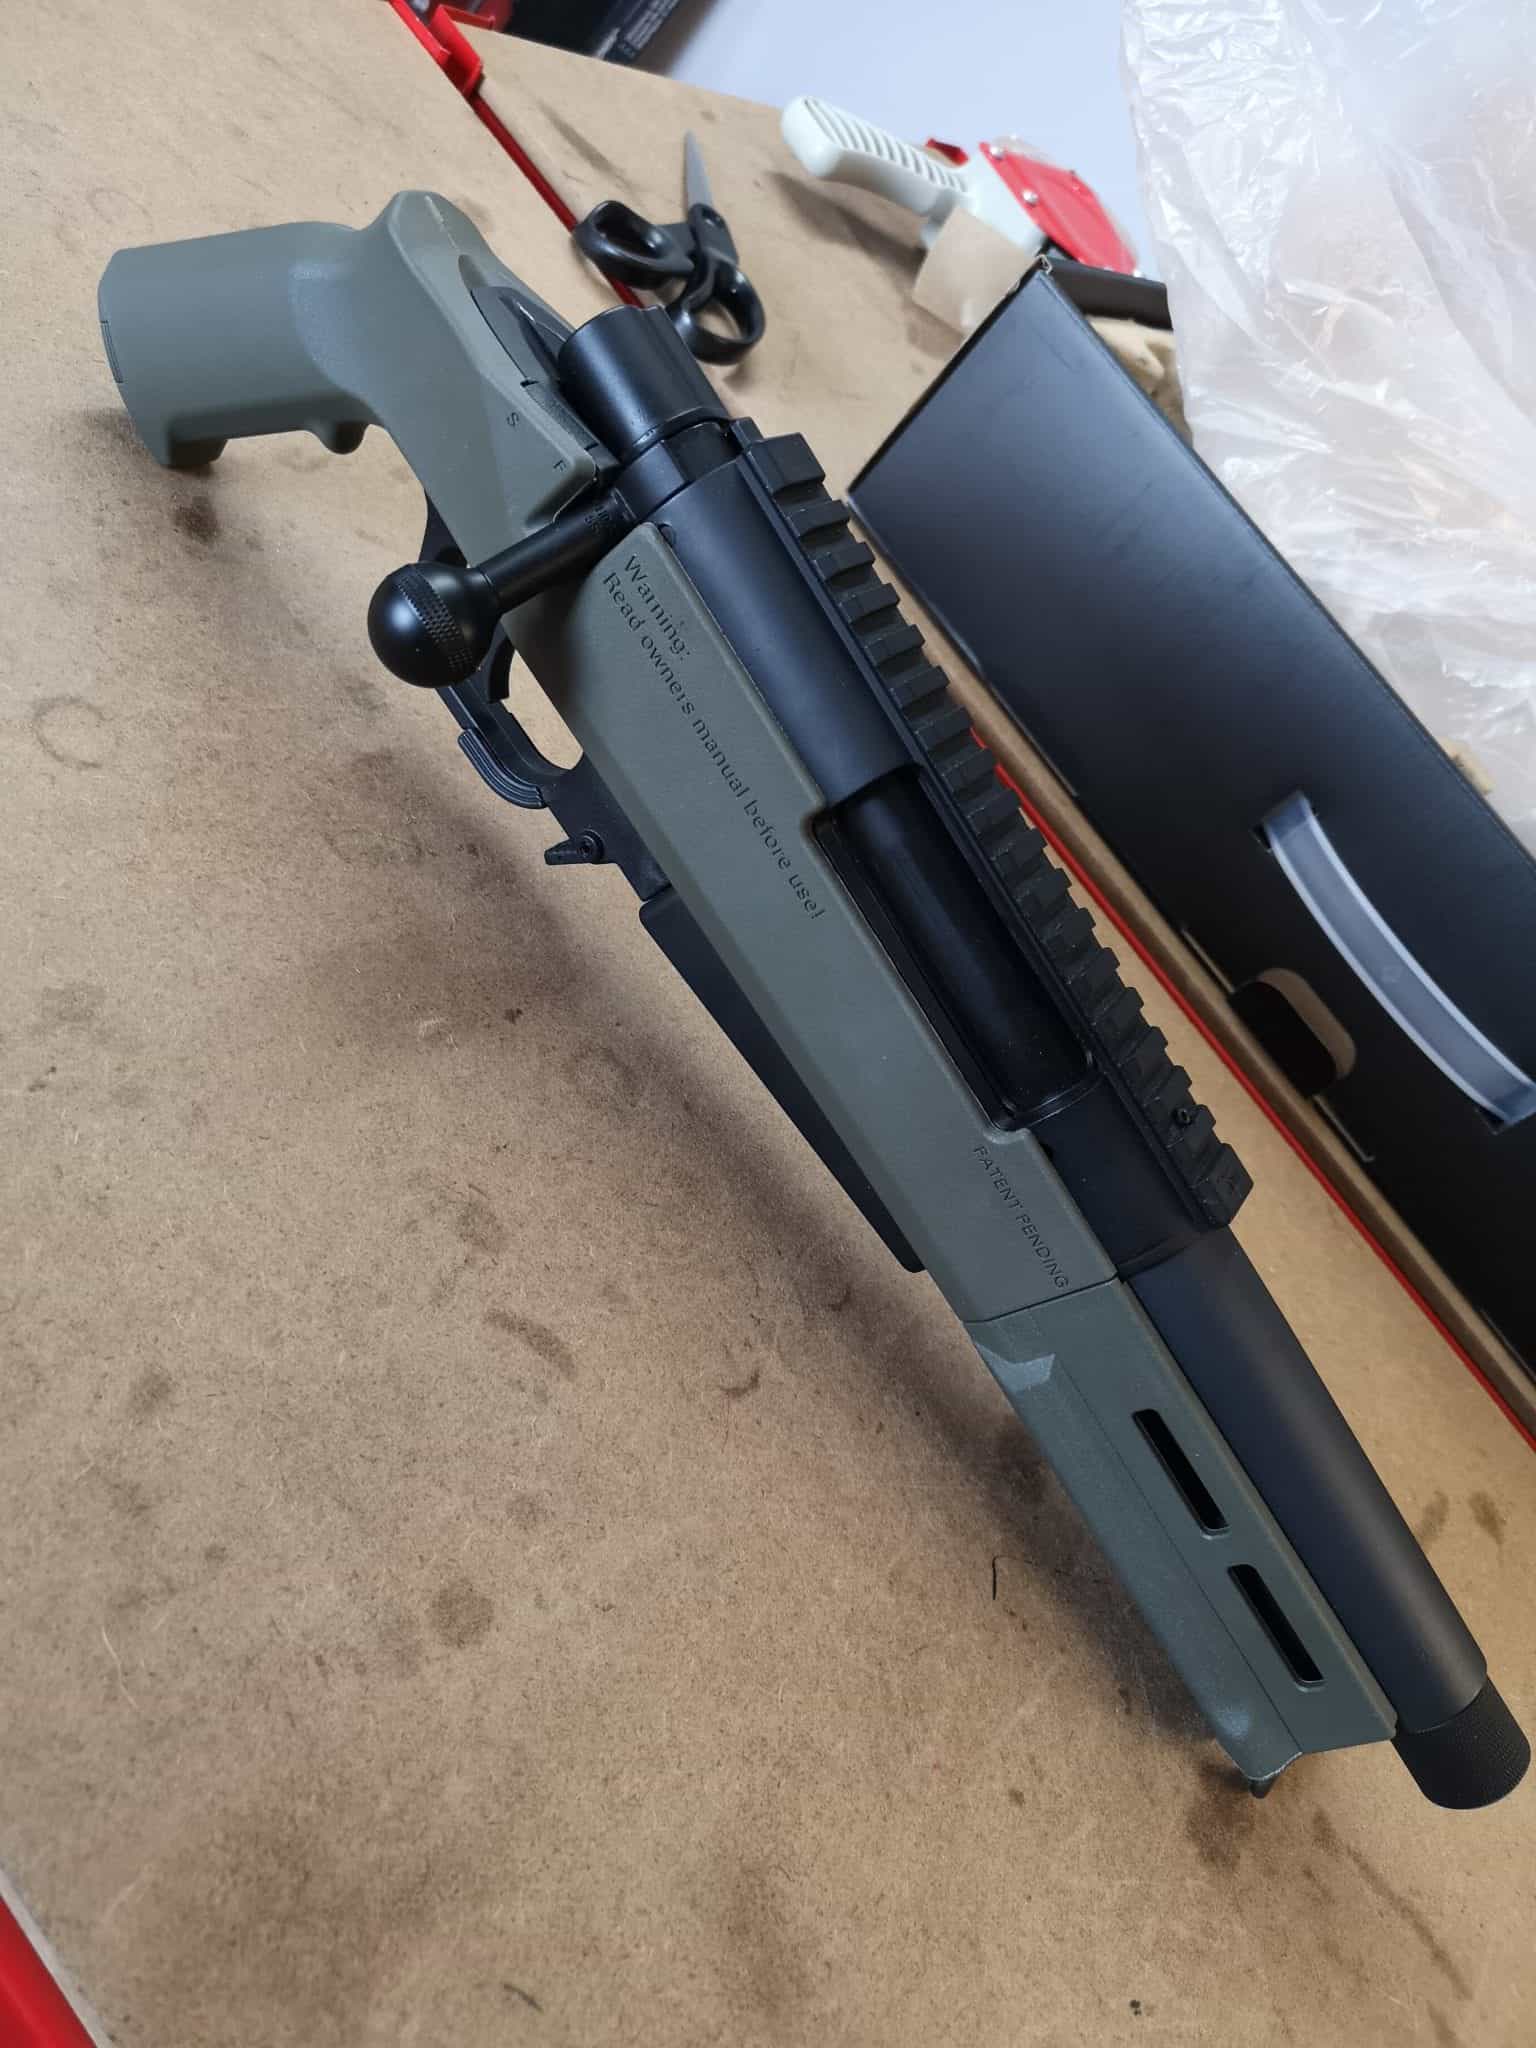
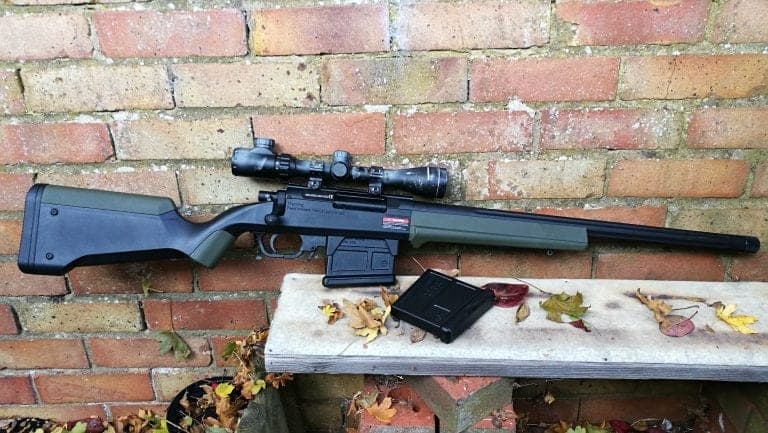
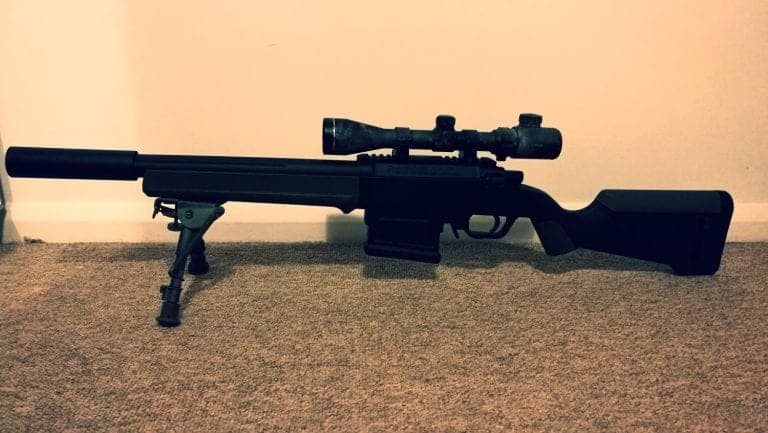
The Amoeba Striker AS03 is the latest addition to the Amoeba Airsoft range of rifles. The are budget/entry level rifles which can work well without having to spend a fortune on them.
The Striker AS01 and Striker AS02, both being well received on release, the AS03 is no exception. While it’s a very love or hate style of rifle, with its tiny profile and lack of stock, it’s certainly a fun little rifle!
Parts Used:
So in the theme of keeping this at 1J and cheap, I only changed out the parts that related to accuracy and range, leaving the rest of the internals entirely stock, worth noting the piston is 90 degree as are the sears.
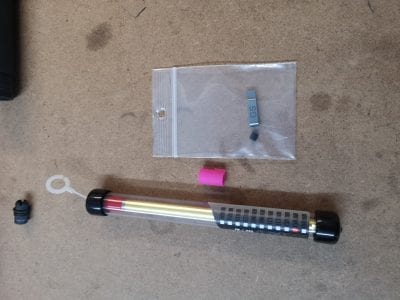
For the inner barrel, the stock is a standard brass, no thrill barrels, which is bridged, running at 150mm. This is being swapped out for the Maple Leaf 150mm Crazy Jet barrel, which is a tried and tested barrel, suitable for a variety of builds and personally a barrel that I use a lot in a variety of builds.
Bucking wise, the stock bucking that comes with the Amoeba Striker AS03 is ok, again it’s nothing fancy, just a standard style mound buking, which isn’t the greatest when you’re looking at using heavier ammo.
Of course, I’ll be swapping this for one of my new gen Flamingo buckings, which are completely redesigned compared to the original , new materials, mould process and factory, as I have some samples knocking about, I’ve been sending them to random customers and including them in builds.
Finally, I’ll be sticking with the stock hop unit as it works perfectly fine, I’ll just be swapping out the hop arm for the Gunsmithy Airsoft Hop Arm. The reason for the arm change is because the stock is just a simple mould and provide little contact, the Gunsmithy Airsoft Hop Arm however comes with a nub which uses the full length and width of the bucking, giving great results, both in terms of range and consistency.
Installation:
The Amoeba Striker AS03 is an absolute dream to tech on, it’s very quick and easy to disassemble with nothing particularly difficult to worry about at any stage.
Step 1: The very first thing to do it literally just remove the 3 screws on the bottom of the AS03, these are by the trigger, just after the magazine and at the end of the hand guard.
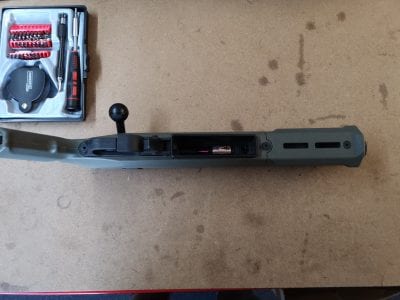
Step 2: With these screws removed, you can then pop the trigger guard off and slide the handguard off.
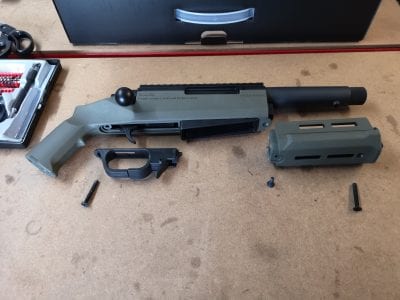
Step 3: Take the receiver out of the body, at this stage it should just slide out, also remove the hop adjuster screw.
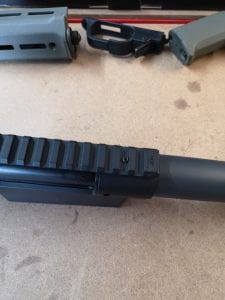
Step 4: You can now remove the outer barrel which just unscrews, it’s also worth noting there is a small arrow on the top which shows you once it’s aligned when you reinstall it. You also need remove the feed top which you’ll see inside the magwell.
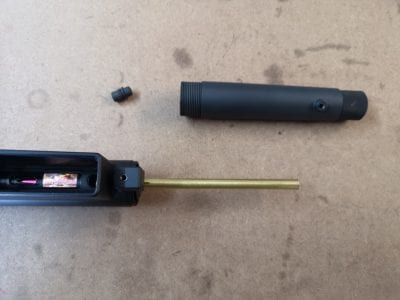
Step 5: With all of the above done, you can now pop out the hop unit and inner barrel assembly.
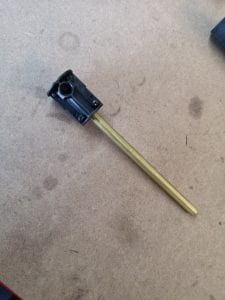
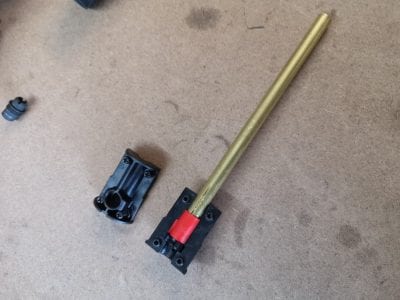
Step 6: You’ll need to remove the 4 screws holding the 2 halves of the AS03 hop chamber together, be careful here as there is a BB stopper and spring inside. Now you can install the bucking and barrel of your choice, the stock barrel length is 150mm.
For this build as mentioned above I’ll be using the Maple Leaf 150mm Crazy Jet and Flamingo bucking. Add PTFE tape at this stage if you feel you’ll need it, in this build I didn’t.
Step 7: To swap out the hop arm, you simply remove the pin, pop the old arm out and then do the process in reverse to install the Gunsmithy hop arm.
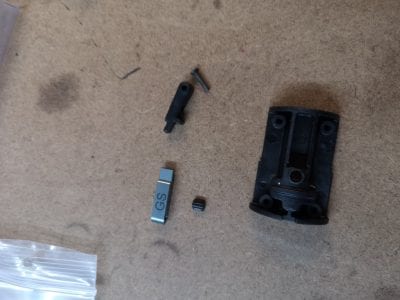
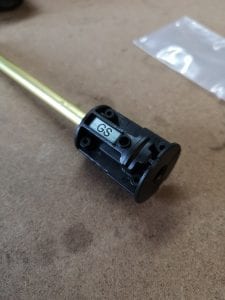
Step 8: Ensure everything is tight and the bucking is coming through the window in a uniform profile, once you’re happy just do all the above in reverse.
Results:
Firstly lets make this very clear, this rifle is only 1J or 237fps on 4’s. So it’s well under the limits of any site I know off, even Ireland which is a strict 1J. However even though it’s at that 1J mark, it had no issues floating rounds out to 75M.
Now, this isn’t flat to 75M and I’m not saying it is, however with the little bit of a flick/lift at the end of the BB’s flight, they certainly get out there and with a consistency that makes it more than usable……Ofcourse those Neo dodging MotherF*****’s will have no issue dodging it if they see it coming as flight time at that range is a few seconds which is to be expected.
Effective range on .4’s is 65/68M, this will vary on ammo, I had no stock of 48’s to see how they would fair, but I think .32-.4g would be ideal in a setup like this.
Conclusion:
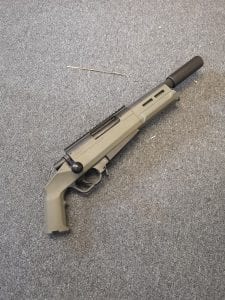
Overall the Amoeba Striker AS03 is a very fun and actually quiet practical rifle. Coming out at 1J on 4’s is perfect and exactly what I wanted out of this rifle, being 1J there is no MED yet it retains great range and accuracy.
Due to the bucking and hop arm combo, the Amoeba AS03 Striker is able to lift the .4b BB effectively. Due to the small cylinder volume, alongside the ported cylinder. These are oddly quiet too!
I could see this being used as a secondary for those shots where you want to get a shot dead on target and not give your position away with gearbox noise or having to take repeat shots.
Though I also think it’s more than formidable as a primary weapon, either in it’s 1J configuration or even running a HPA line and using the Amoeba AS03 Striker Kit from Mancraft or Wolverine Airsoft.
My final thoughts on this is it’s a genuinely fun rifle to use, it’s tiny, quiet, accurate and above all, very cheap. I think the retail on something like this would be sub £200 which isn’t half bad.
Remember guys, if you’ve enjoyed this post or any of the other content I’ve put out, please check out my other platforms and consider becoming a Patreon
Amoeba Striker AS03 links:
Parts: Empire Airsoft
Other Guides
If you’ve enjoyed this content or any of my other content, you can support me here.

